If there is one herb everyone should plant and grow it’s lavender. Traditionally considered good luck to plant near the door or entrance to your home, the smell of lavender is something special.
A serene calming scent. Studies with mice and gerbils show there could be more to lavender’s relaxing properties than a mere predilection for a pleasing scent. *If you’re interested read, Koulivand Peir, Maryam Khaleghi, Ali Gorgi. Lavender & The Nervous System (Hindawi, 2013) pg 7-14.
Whatever the science I’ve always found Lavender to have a delightfully peaceful aroma.
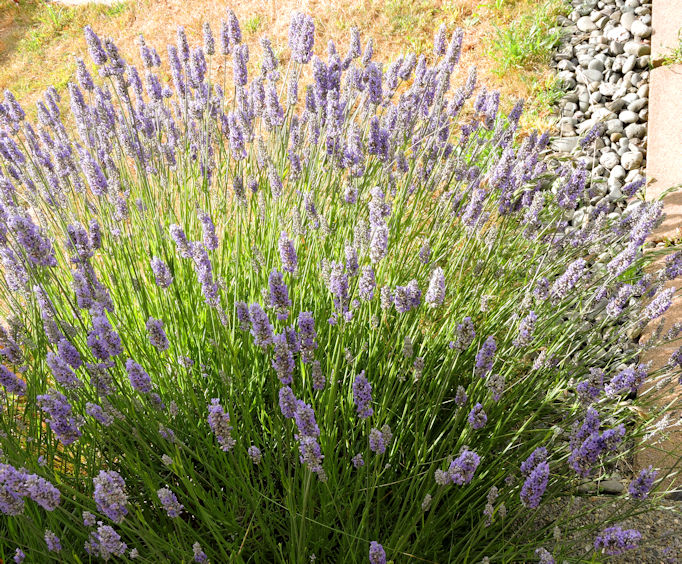
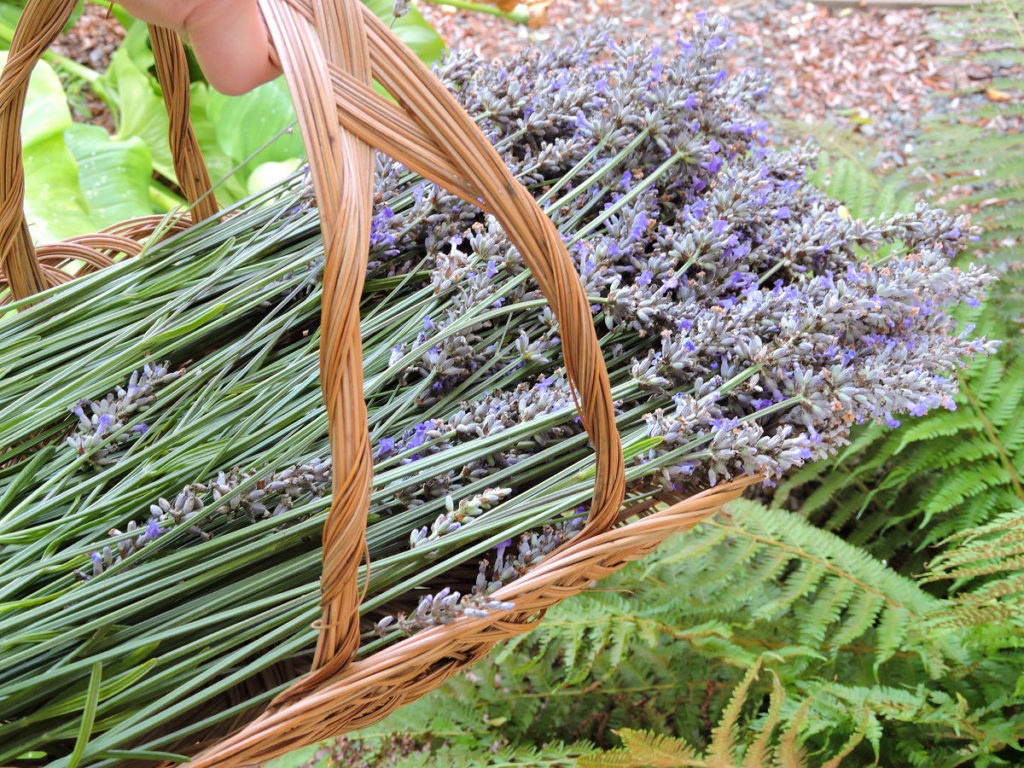
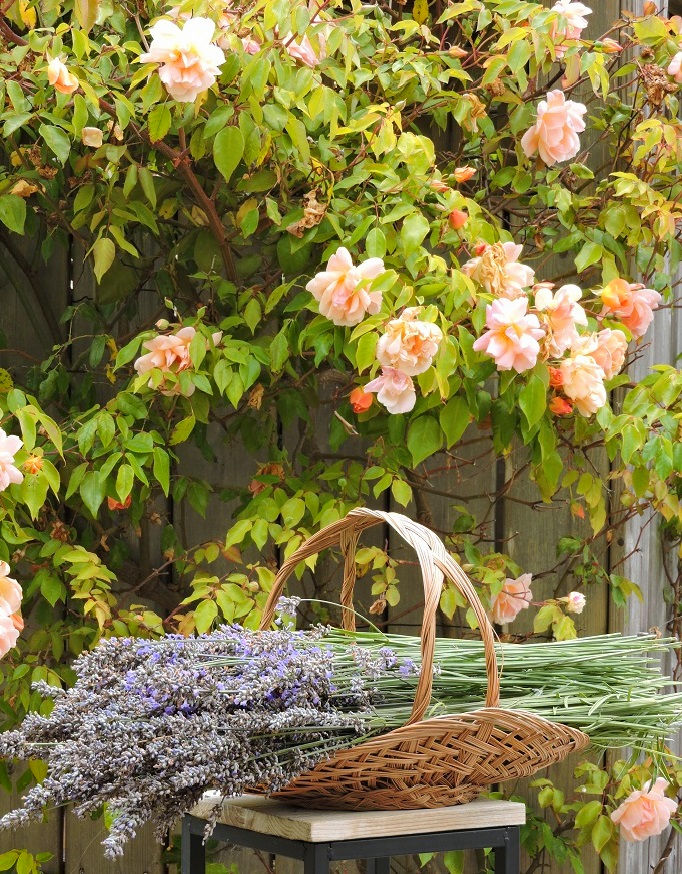
Lavender grows best planted in full sun. When harvesting lavender it is recommended to trim near the base of the stems when it first starts to bloom. I’m terrible at this. I always harvest my lavender late. I just don’t have the heart to trim it that early because the honey and bumble bees love the lavender so much.
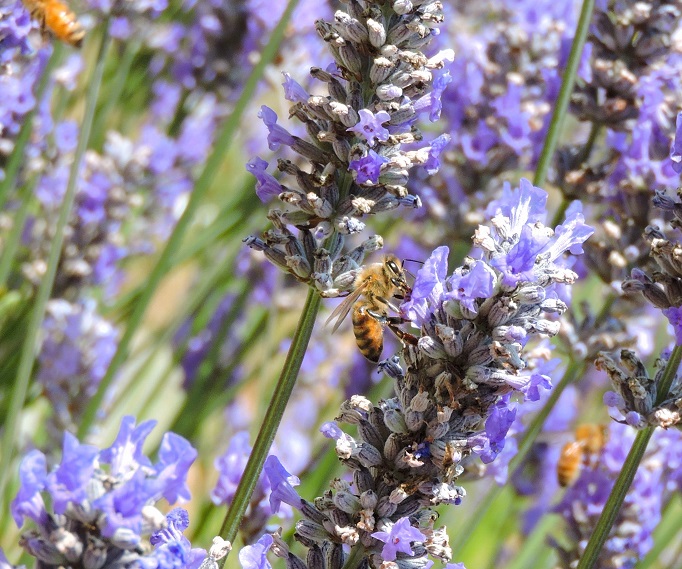
I always feel bad cutting it before the bees (and even the butterflies sometimes) get the chance to avail themselves of the blooms. The good news is, even though I harvest my lavender very late it’s still super effective for most uses.
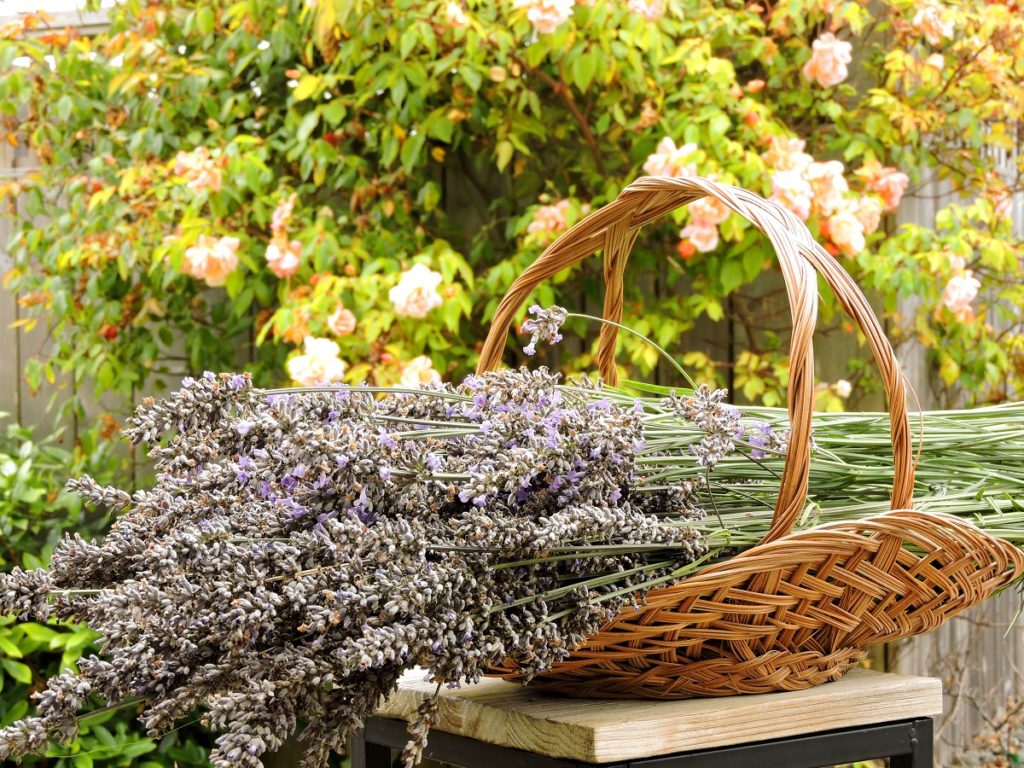
Pretty much the only area where late harvested lavender doesn’t work well is for visual decorations, like dried wreaths. But for teas, sachets, bath salts, etc… you can harvest your lavender late and it still works great.
Drying
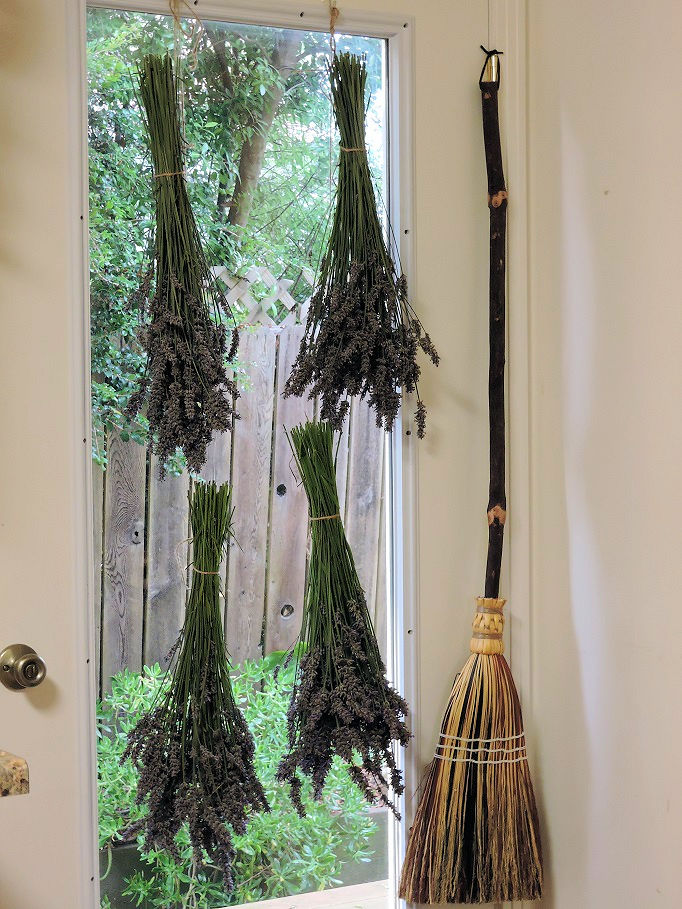
You may already be familiar with the common recommendations when it comes to drying flowers, plants and herbs.. cool, dark, dry, and good air circulation. Sometimes it can be difficult to find a location that ticks all four boxes. It’s helpful to understand the why behind the recommended conditions so you can choose what your top priority will be.
Cool is recommended because heat causes the essential oils to be released, something probably desired latter on, but at this stage one wants to conserve as much of the lovely smell as possible.
Dark is recommended because light may fade the flowers (so this will be more important if one is planning on using what is drying for a more visual project.) A second concern about light is that it can lead to heat, which leads back to the first recommendation.
Dry, well, this one should be obvious, since one is trying to dry something, moisture will clearly prevent this 🙂 -Moisture when drying can also lead to mold developing.
Good air circulation, this helps things dry faster, locking in both color and scent. More importantly (depending on where you live) it helps prevent mold and fungus. For me good air circulation is a priority, it is always the first box I check, but I live in a humid region where mold and fungus are problematic.
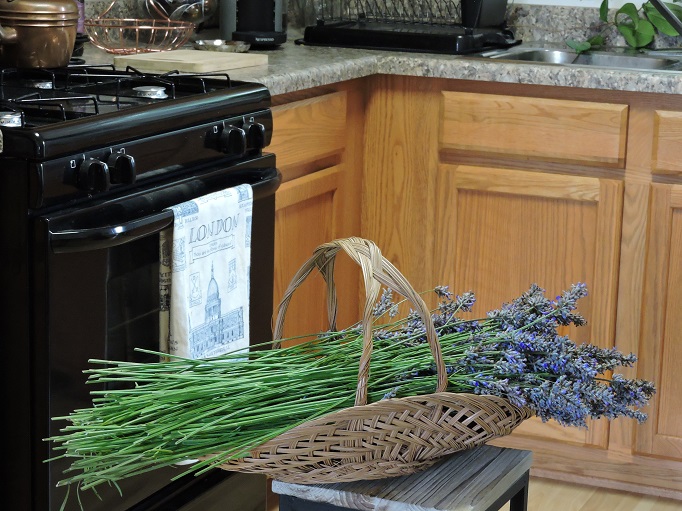
After the lavender has dried, three common methods for removing the flower heads (from the stems) are to use, one, a paper bag, two, a pillow case, or three, one’s hands. With the paper bag hold the lavender upside down in the bag and shake it, hitting it against the sides of the bag. With the pillow case put the lavender inside the pillow case, then roll it and gently squeeze and roll again. With hands, just use fingers to strip the dried flowers off the stems.
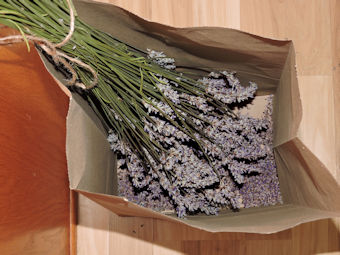
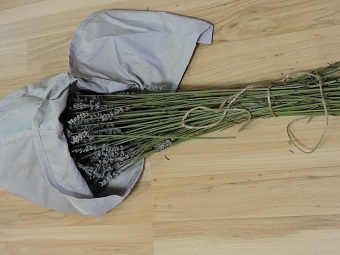
Each method has advantages and disadvantages. In the end I used all three. I used the paper bag first to get all the really loose stuff. Then I used a pillowcase to get the majority of the dried heads and lastly I dragged my fingers down any stems that had flower heads still attached. To finish off I used a sifter and lightly shook the lavender to let undesirable debris fall away.
What to do with Lavender…
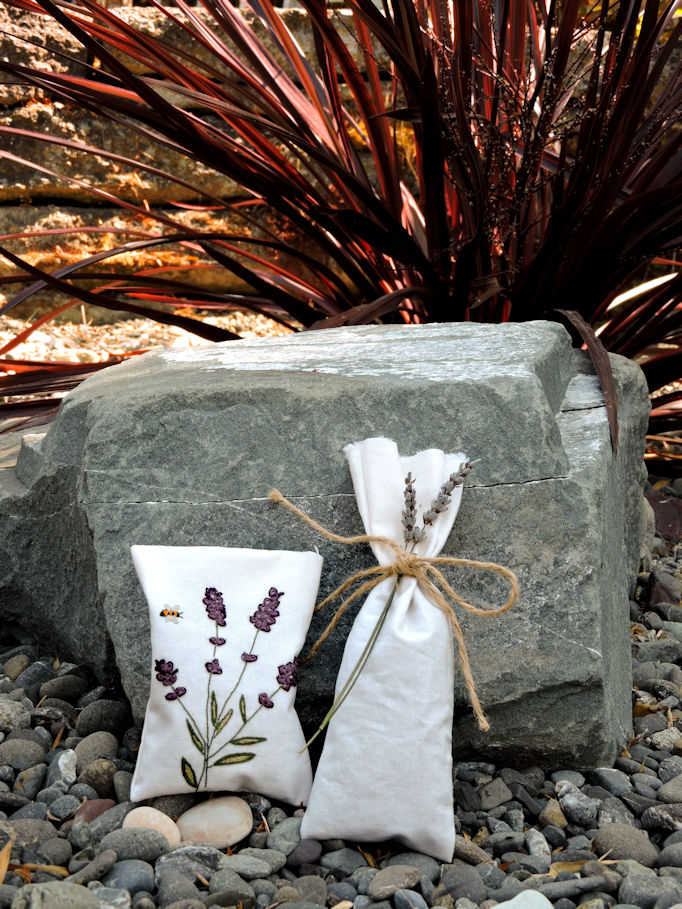
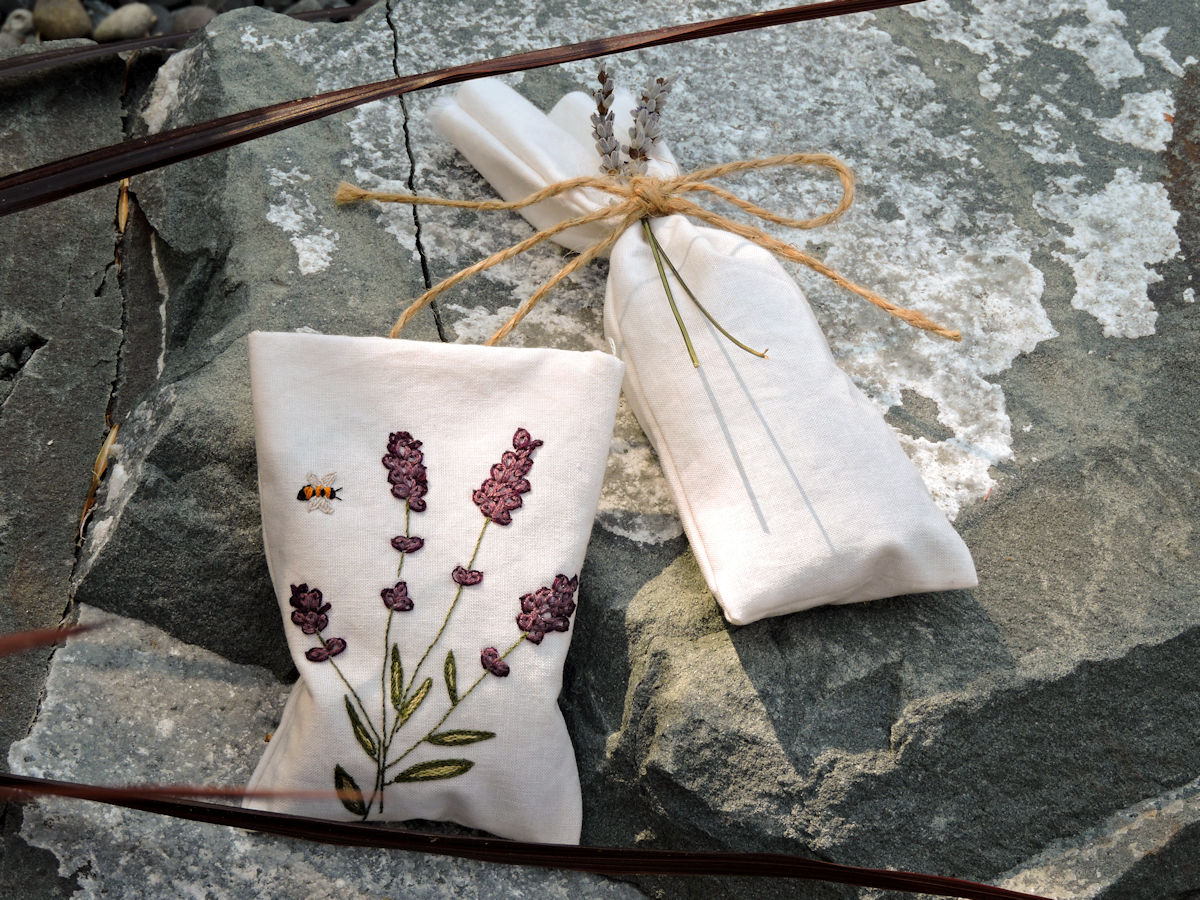
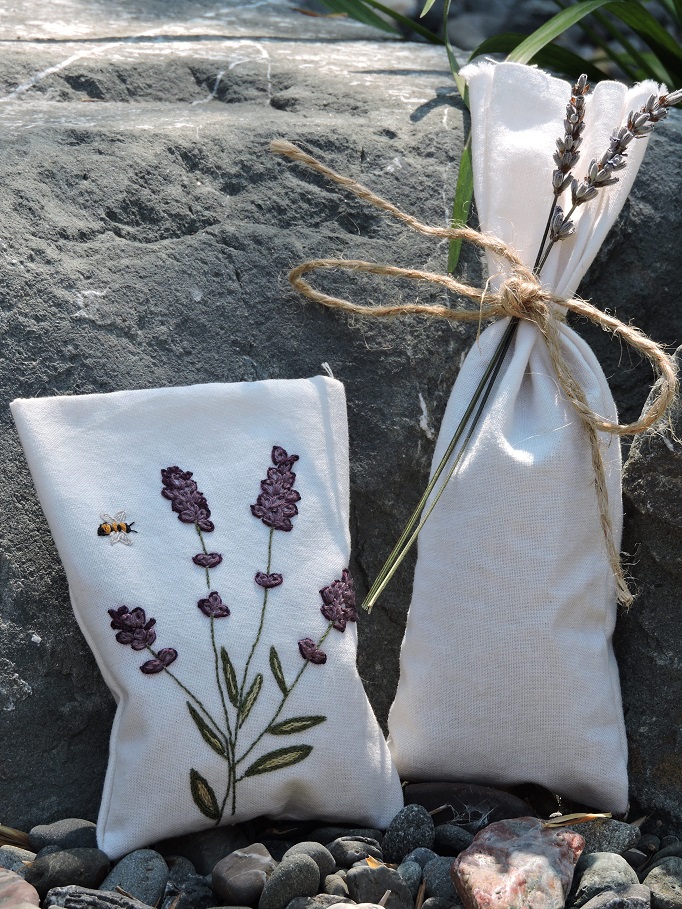
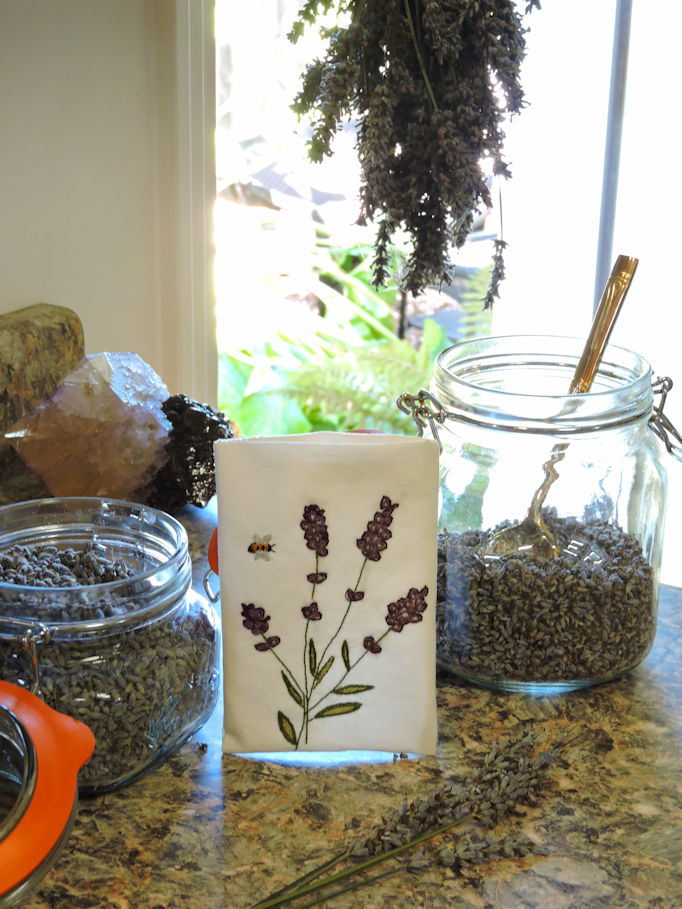
So many wonderful things. Lavender is popular for teas and bath salts, soaps and lotions, candles and cuisine… One delightfully classic use for lavender that I thought I’d start with today is sachets. Lavender sachets can be stored with linens and clothes in dresser drawers, hung in closets, kept in cupboards, placed under or inside a pillow to help you sleep, and they make lovely handmade gifts.
Making a Lavender Sachet:
The first thing needed to make a lavender sachet, after the dried lavender itself, is some type of fabric. The fabric for sachets as one would imagine should be breathable. I prefer light weight cotton and linens. For the sachets shown here I used an organic 100% cotton.
If making several sachets at one time a sewing machine can speed things up – but these are really so simple to hand stitch. For the first one I used a split stitch for the sides while it was turned inside out.
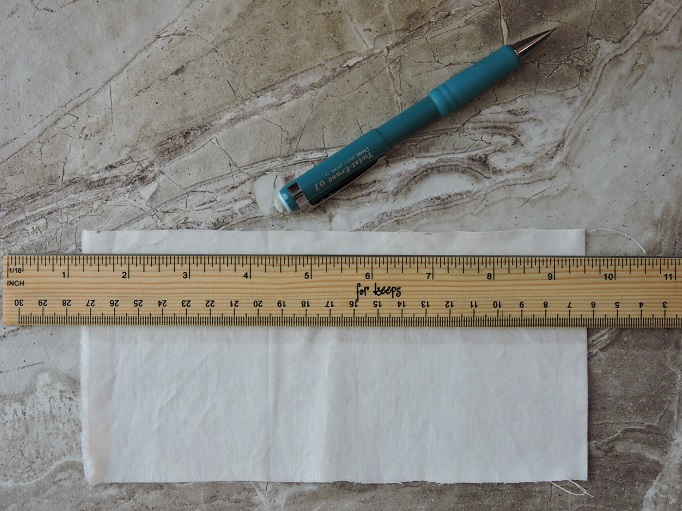
Draw a guide line for stitch 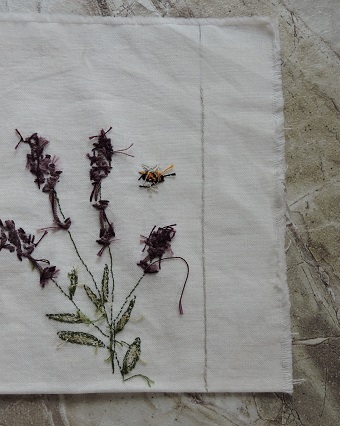
Stitch sides inside out
After turning it right side out and filling with dried lavender I used the blind (also known as ladder) stitch to stitch the top closed. In the second one I used a simple back stitch for the sides and then I just used some natural twine to tie off the top.
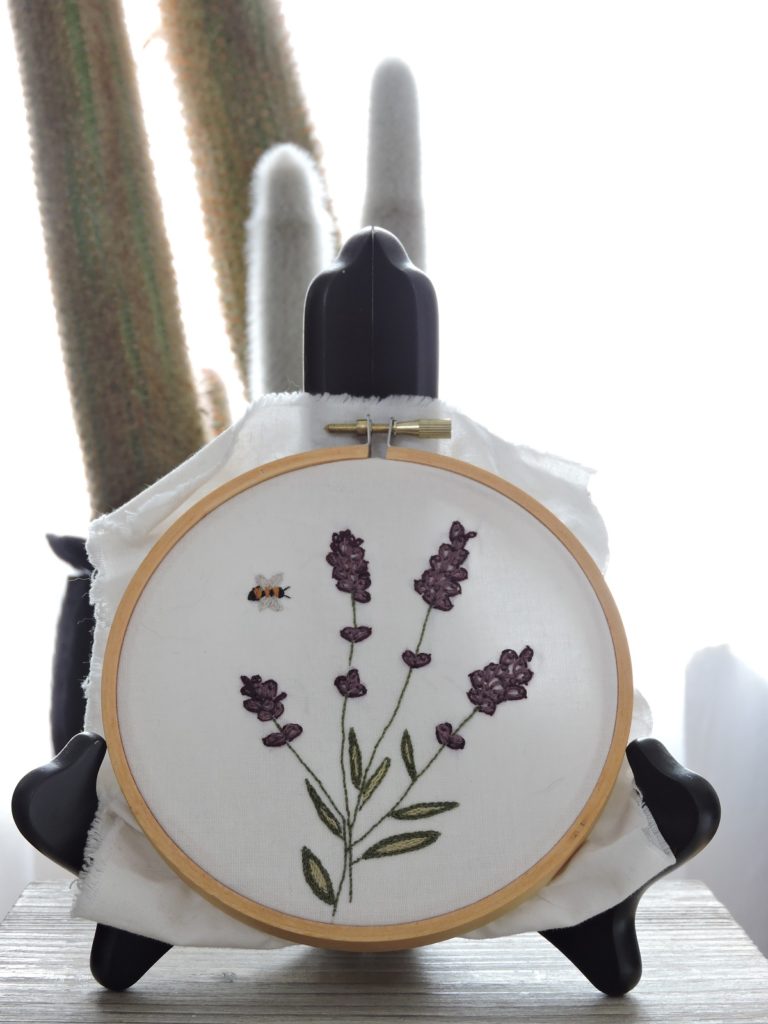
Embroider Lavender Flowers
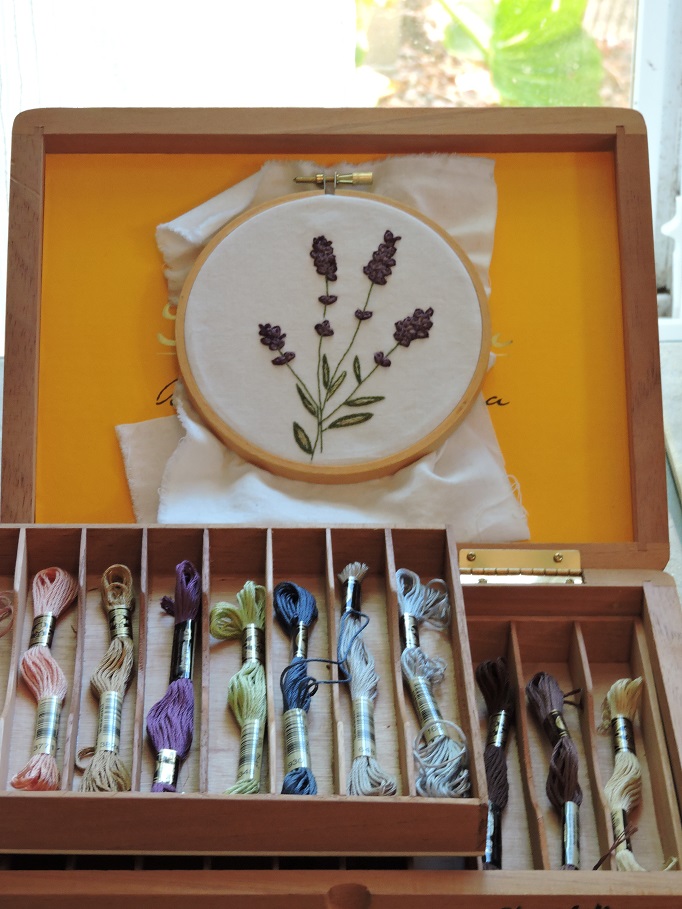
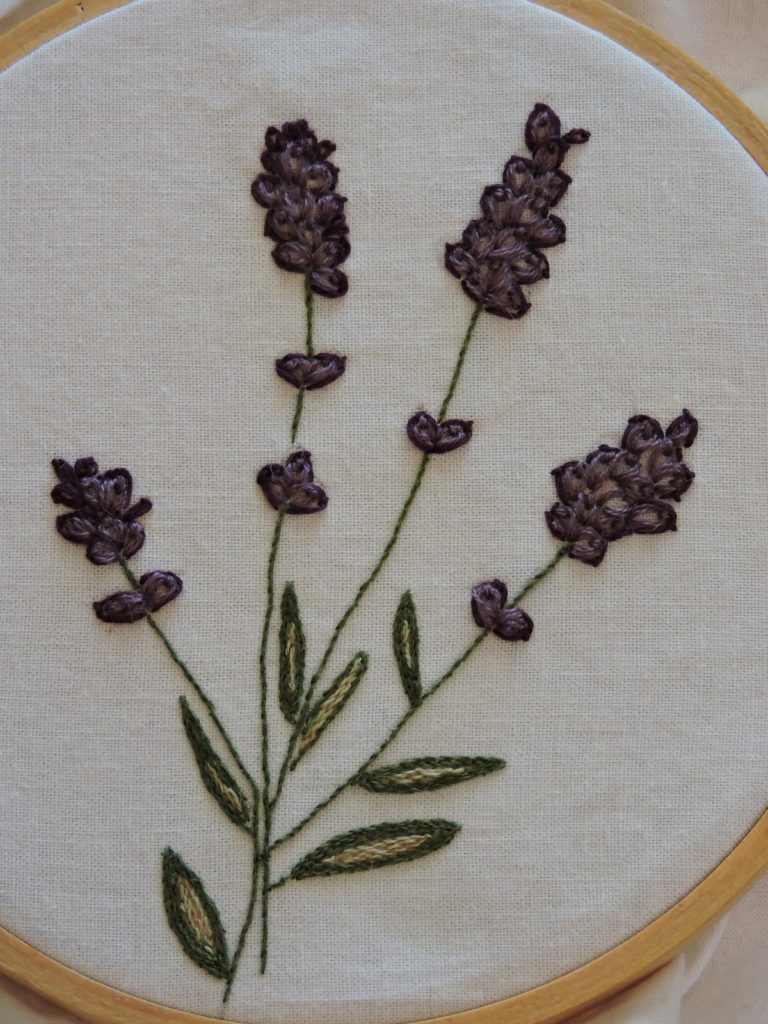
I love embroidery and sachets lend themselves perfectly to that art. So for my first sachet in this article I wanted to embroider some lavender flowers. I also added a lil’ bee because as I mentioned earlier my lavender bush is always buzzing with them.
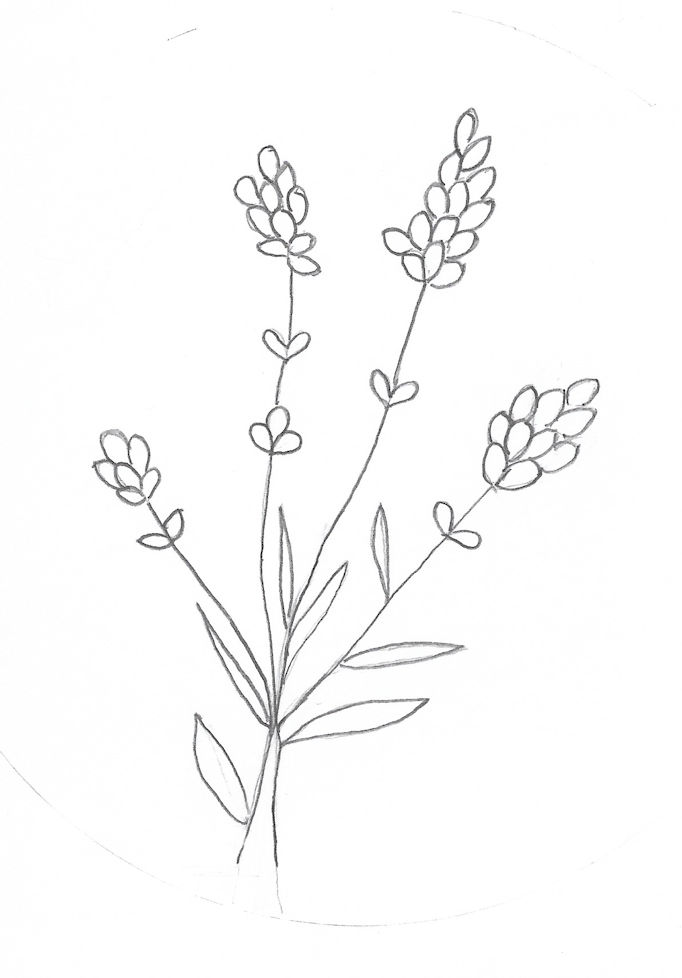
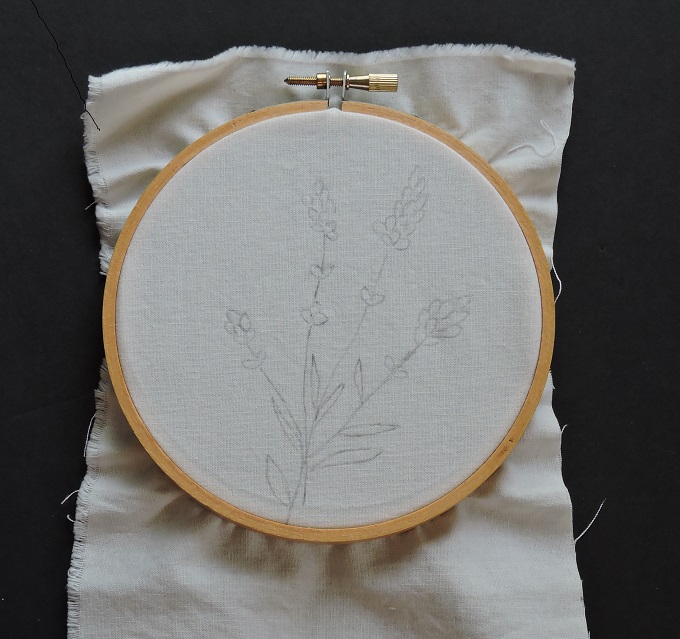
I sketched out my flowers on paper first, then when they looked the way I wanted, I just traced it onto my fabric with a pencil. Here is my lavender flower outline if you would like to print it out and use it. I did the same for the bee.

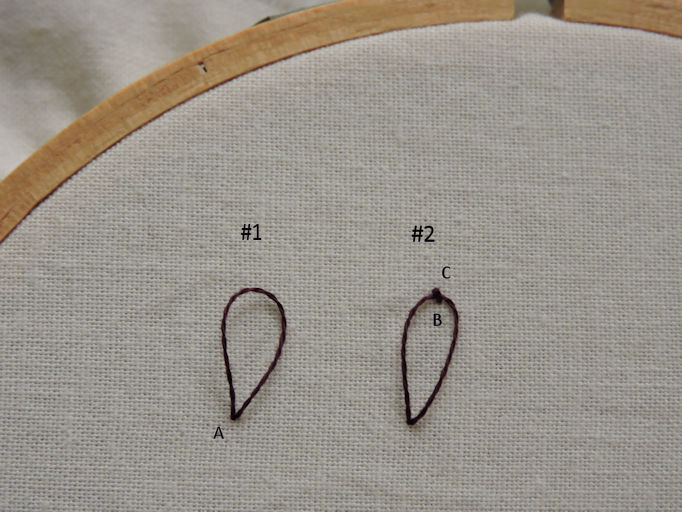
There were a few different stitches I thought about using but in the end I went with the stem stitch for the leaves and stems and I used overlapping daisy stitches for the lavender flowers.
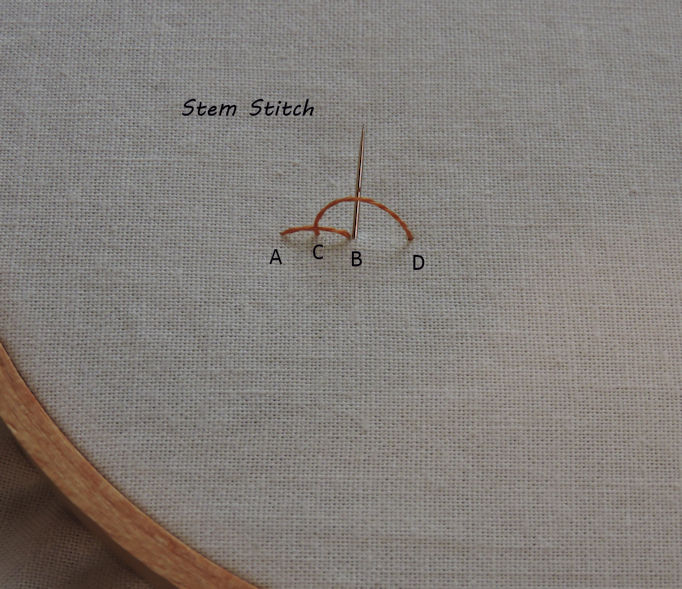
(Bringing thread up above previous stitch)
For the bee I used a combination of split stitch and simple back stitch.