Before starting, remember, there are no hard-set rules. Be creative and enjoy yourself along the way.
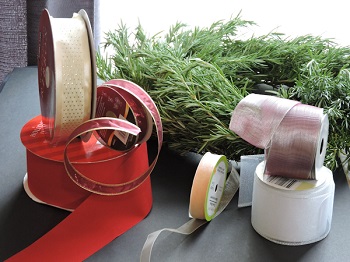
Step 1: Gather your materials.
You will need a frame, and floral wire, and whatever it is you have chosen to create your wreath with. (Here I’m using rosemary.). You may also decide you want accouterments, such as ribbon or ornaments, to decorate the finished wreath.
~ Break it down ~
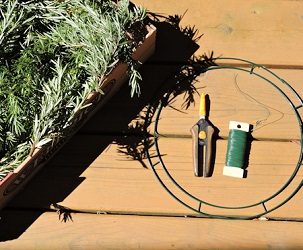
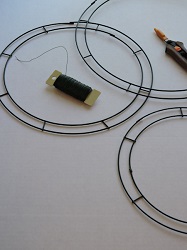
The frame – a typical wire frame (as shown) works very well. Wire frames are sturdy, easy to use, and can provide enough support for heavier materials like evergreen branches. There are a lot of other things you may already have on hand, that you can use for a frame as well. An extra embroidery hoop for example or even twig branches twisted together.
The wire – 22 gauge paddle wire works great and is usually recommended, but you can certainly use whatever malleable wire you may already have.
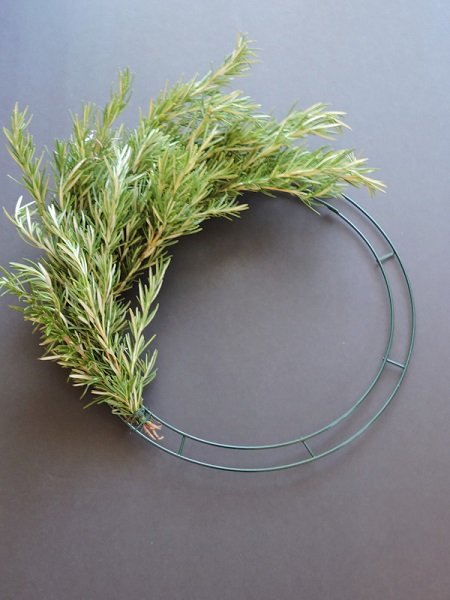
Step 2: Gather branch tips or sprigs of your chosen material together into bunches and using your wire begin attaching them to your frame.
~ Break it down ~
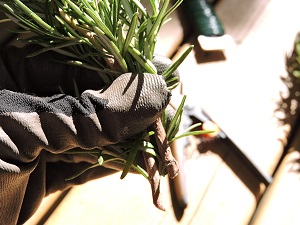
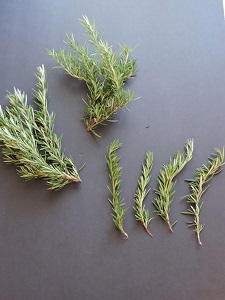
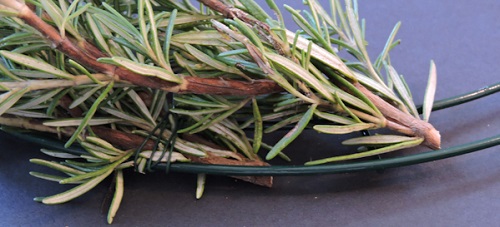
Gathering branch tips into bunches – you want to cut your branches (material of choice) into roughly the same length and then bunch them together using around the same number of branch tips for each bunch.
Again, as I mentioned at the start, there are no hard set rules for this. How long you choose to cut the branch tips or how many tips you choose to bunch together will create different looks. It will also depend a fair amount on the size of the frame you decided to use. For this rosemary wreath I used branch tips around 8 inches long and my frame was 12 inches in diameter.
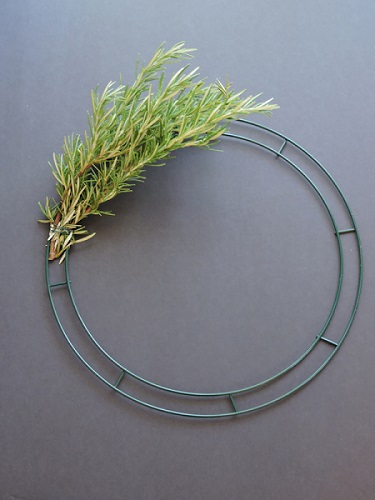
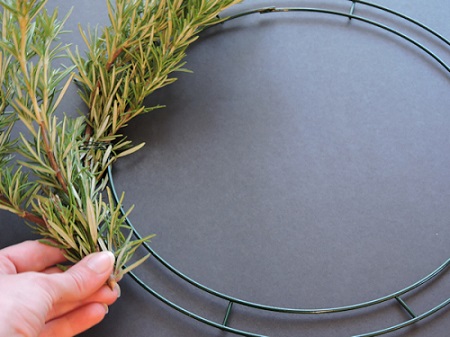
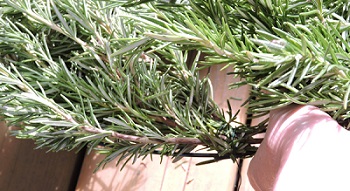
Attaching bunches to the frame – Lay your first bunch of branch tips on the frame and twist the wire tightly around the stems of the bunch about three times attaching it to the frame. If you’re using a typical wire frame it is usually recommended to attach your first bunch to the wire frame at a crossbar point. This helps keep it from sliding around the frame, but this is not necessary only helpful. So if you have a frame without crossbars, it’s nothing to worry about. It is also usually recommended to not cut the floral wire each time you attach a bunch of sprigs. If you’re using the paddle wire just keep wrapping it around each successive bunch without cutting the wire. But, if all you have on hand are wire pieces, those will work just fine as well. Again, using one wire without cutting helps keep the branch bunches in place as you go.
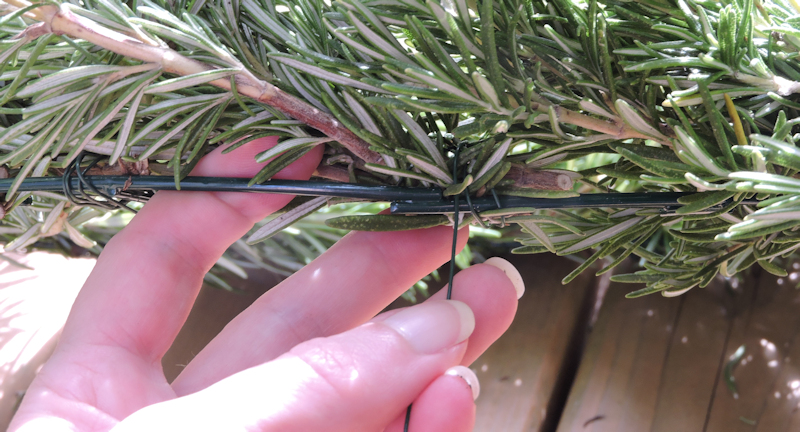
*Depending on your wreath material of choice this could potentially be more important. Some materials will need more help staying in place than others. If it’s easier you can pre wrap your bundles with wire to help keep them together before laying and attaching them to the frame.
Step 3: Continue attaching bunches of your chosen material to the frame.
~ Break it down ~
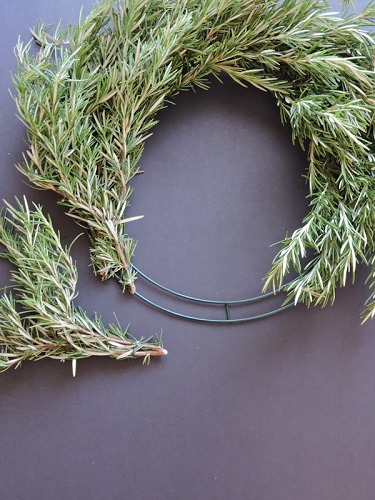
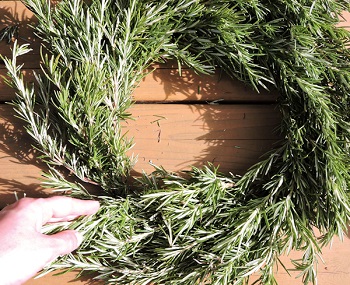
Continuing – After placing the first bunch and securing it to the frame place the second bunch by overlapping the first (partially on top of) and again tightly wrap the wire around the base of the branch tips about three times attaching it to the frame. Continue placing each consecutive bunch on top of the last until you’ve gone all the way around the frame. The amount of overlap is ultimately up to you. Overlapping bunches closer together will create a fuller looking wreath. For my rosemary wreath you can see here how much I chose to overlap each bunch.
Approaching the end – As the succeeding bunches begin to approach the first you will be tucking your gathered bunch on top of the immediately preceding bunch but underneath the very first bunch.
Step 4: Adjust the bunches and fill in any sparse spots.
~ Break it down ~
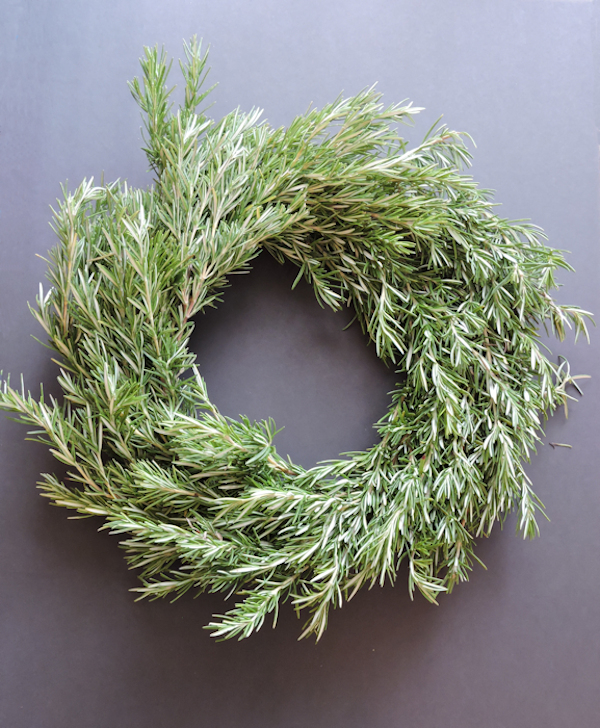
Achieve visual balance – Sometimes bunches will slide creating an empty gap or the overlapping may have been inconsistent resulting in a wreath that looks a little uneven. Fill in these sparse spots with bunches. Tucking them in the same way as the last few bunches and if some of the branch tips look to long just trim them.
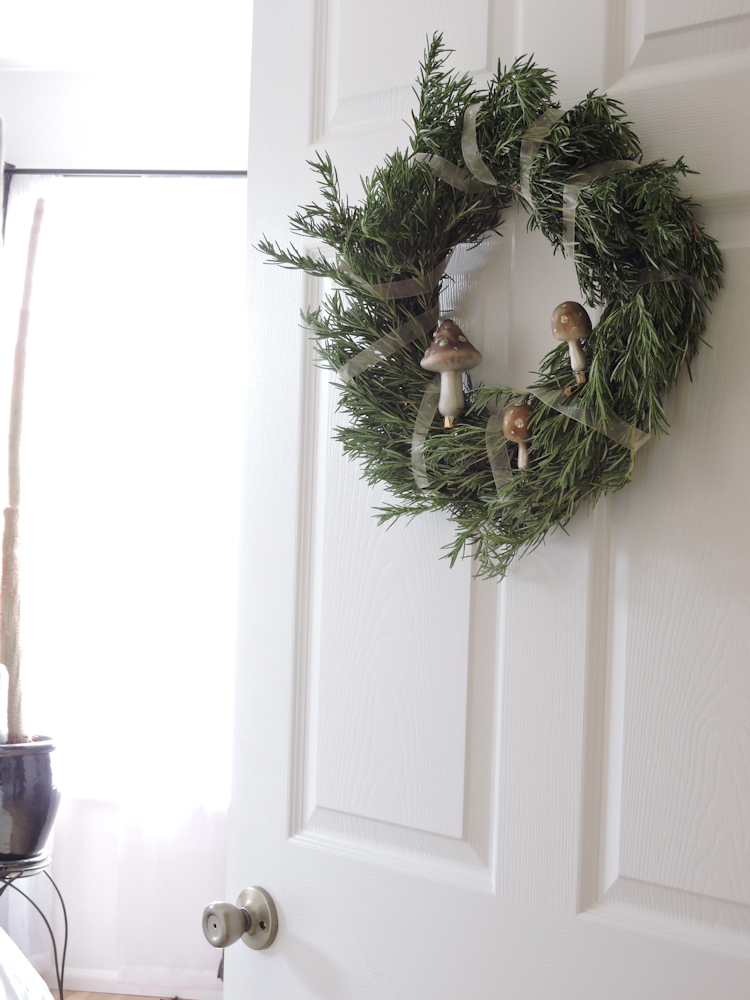
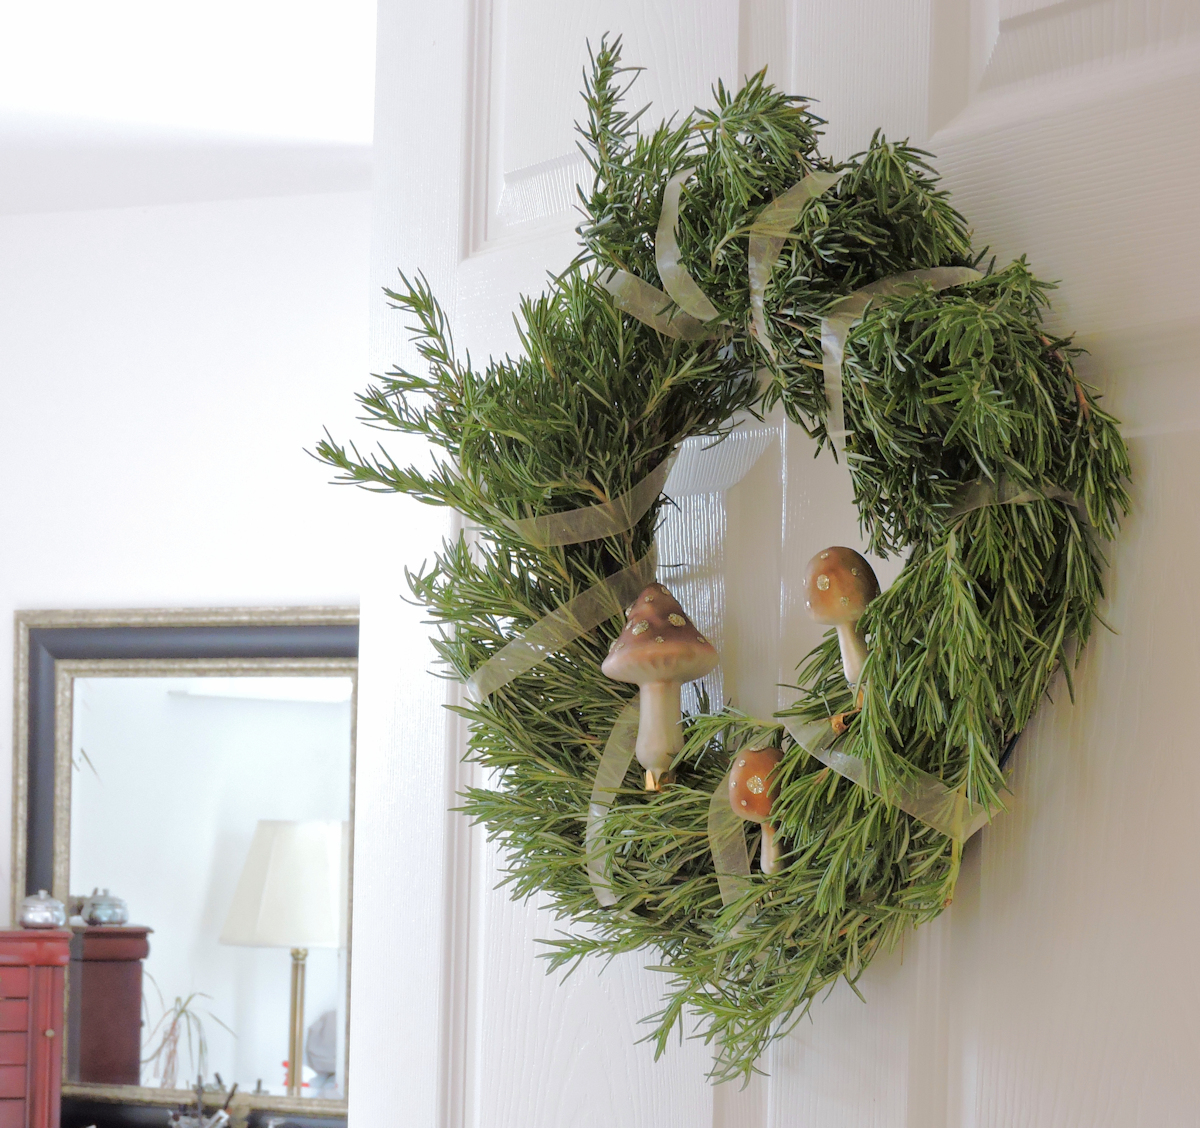
Optional Step 5: Decorate the wreath.
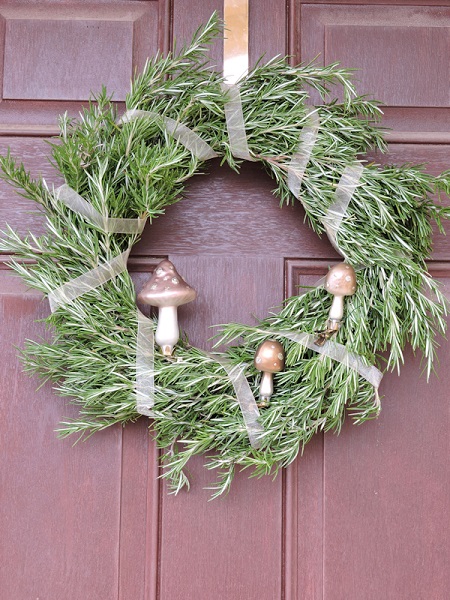

Wrap ribbons, tie bows, attach ornaments, or love and keep it just the way it is, whatever you want. If you do want to adorn your wreath, floral pins (or wire) will be very helpful for attaching focal point ornaments.