While souvenirs can hold cherished memories and bring us joy when we see them, they all too often just end up getting stored away in a box somewhere only to be ‘seen’ when we decide to spring clean. Figuring out the best way to display them can sometimes be a difficult prospect.
In this post I’ll show you one particular way I came up with to display a Kimono so that the beautiful work of art you brought back from your travels can be seen and enjoyed.
You’ll need:
- Your Kimono 🙂
- A Shadow Box Frame
- Sewing Pins
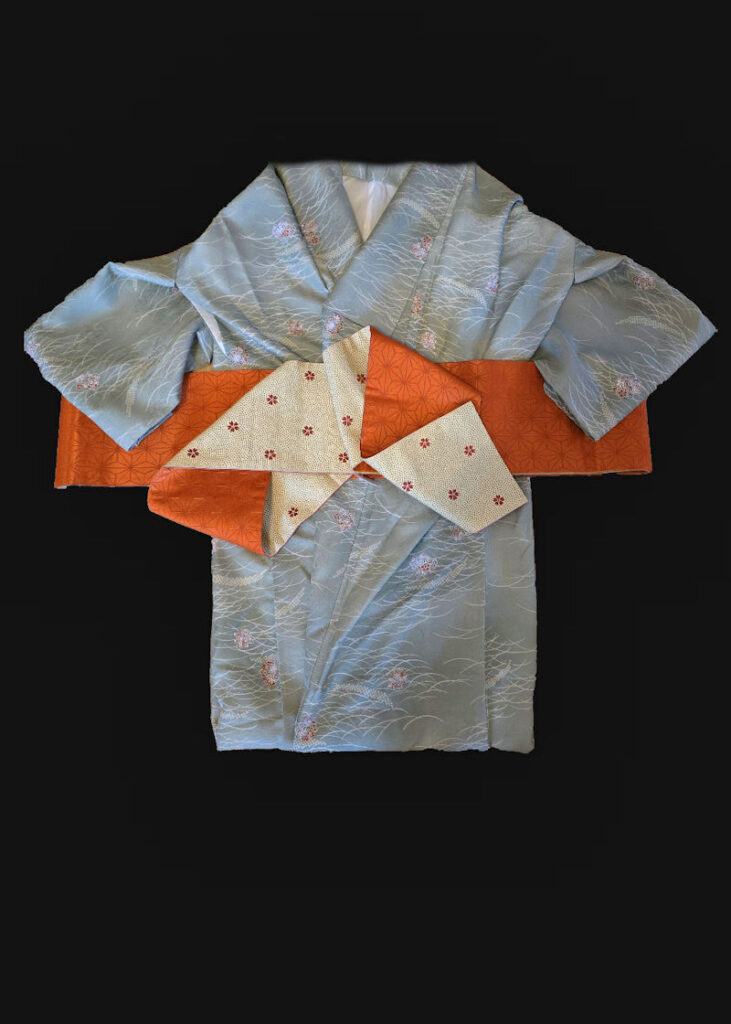
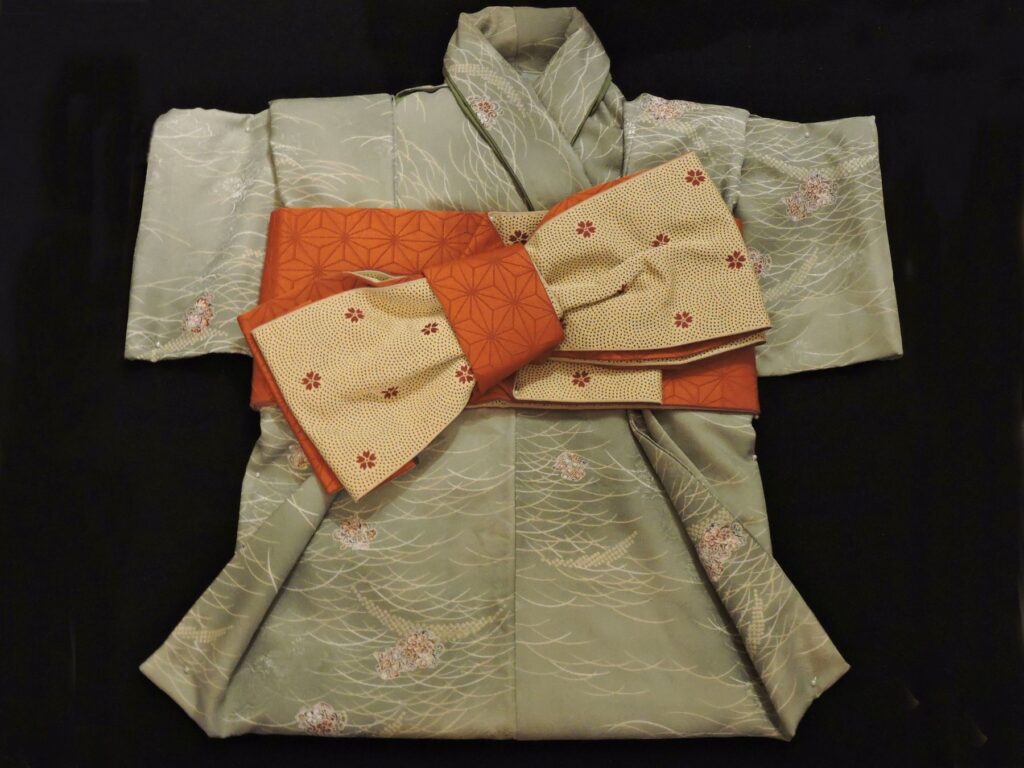
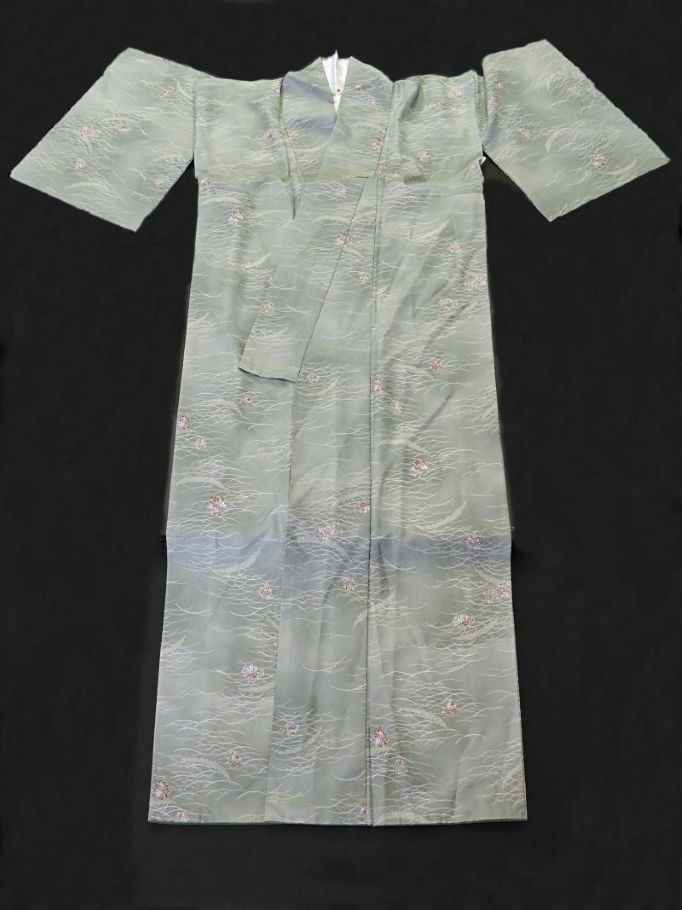
Well known to sports fans with jersey keepsakes, the shadow box frame is one of the easiest ways to display articles of clothing. The catch is those articles of clothing need to be the size of a shirt or smaller. So the trick I’ll be showing you here will be how to fold the kimono so that it fits inside a box frame while still resembling a kimono.
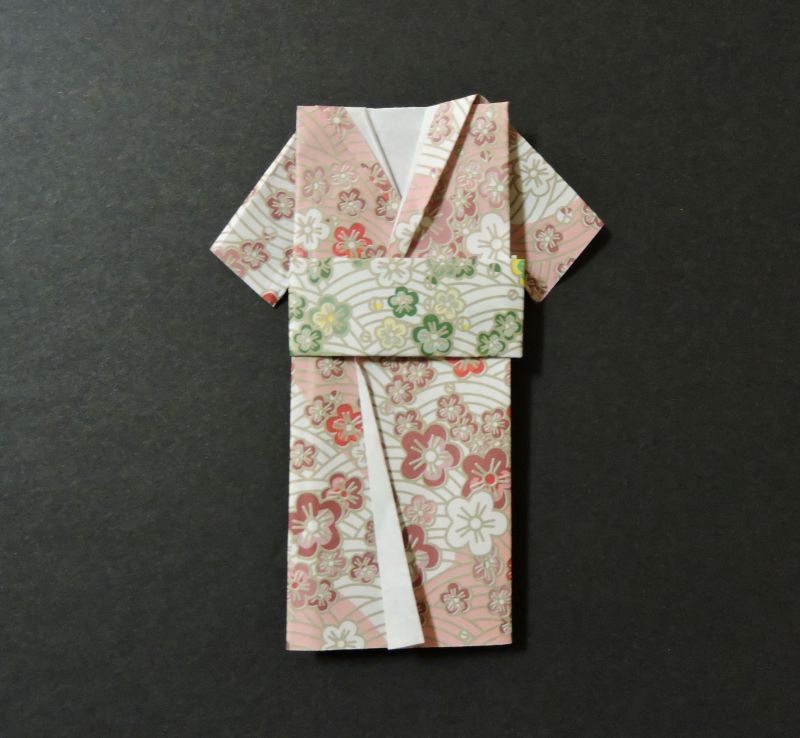
I originally came up with this idea while folding origami paper into little kimono patterns, so, basically we will be using origami patterns to fold our full size kimonos into miniature kimonos.
First I’ll use origami paper to show you two origami patterns I’m familiar with. Then I’ll show you how I approximated the patterns to fold one of my own kimonos. Lastly, I’ll go over ideas for the obi, (the kimono’s fancy belt) including whether you even want to include the obi and reasons why you may or may not want to.
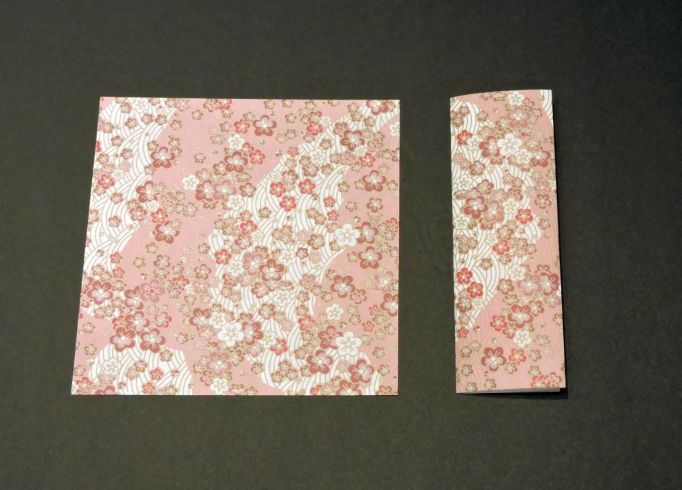
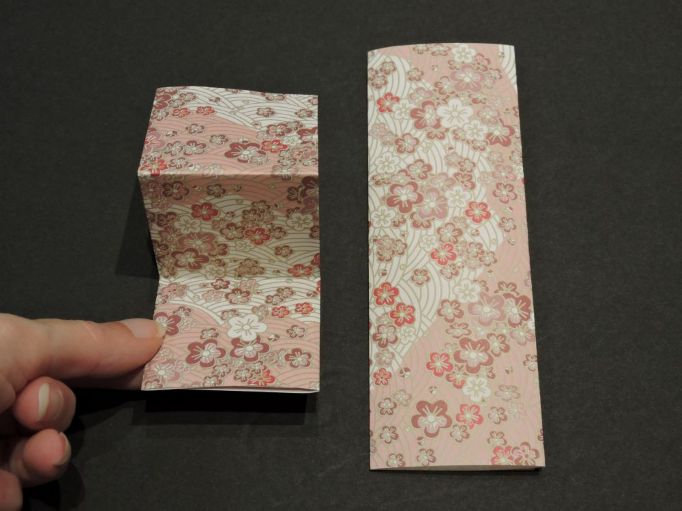
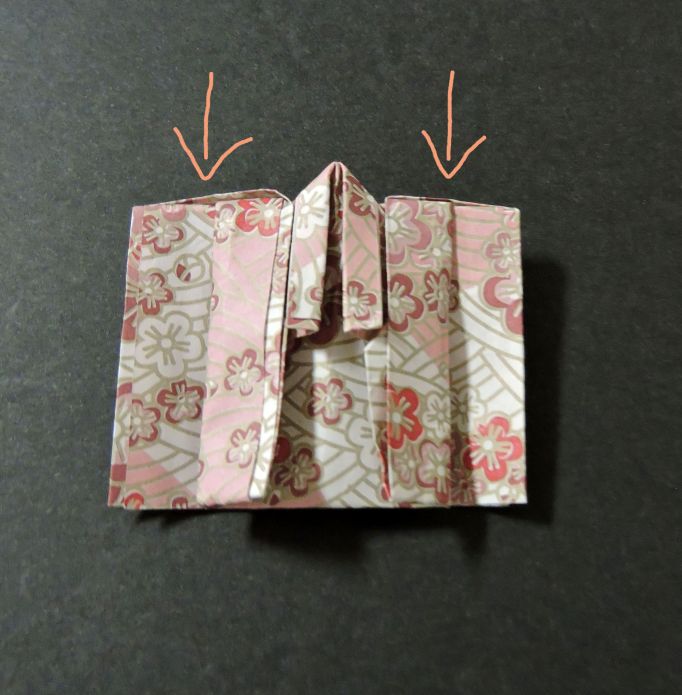
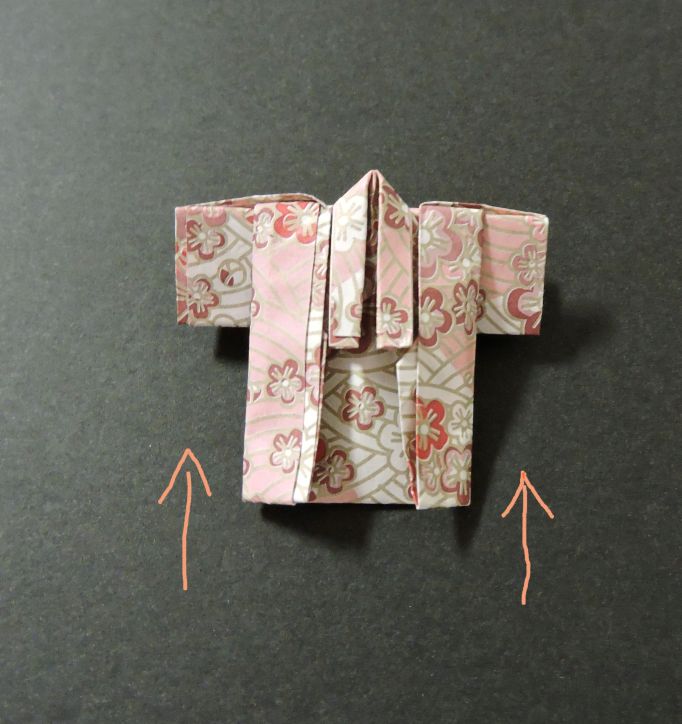
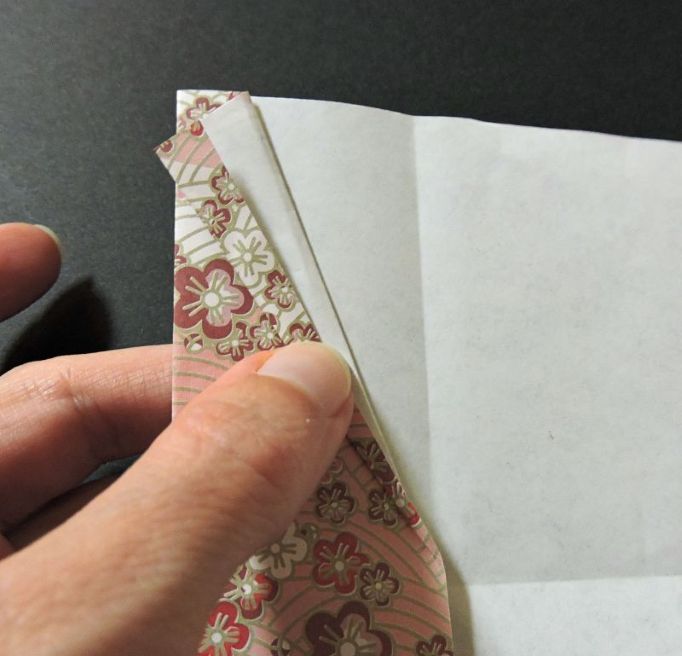
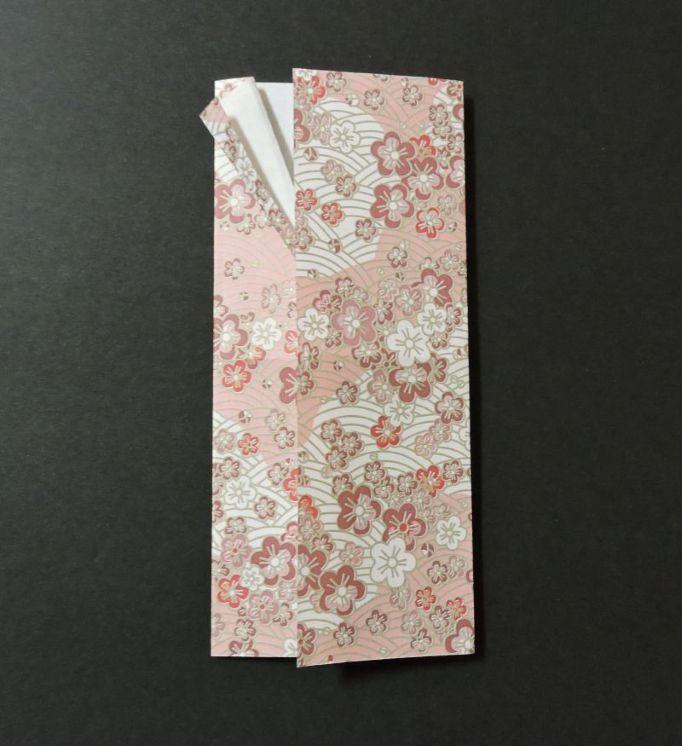
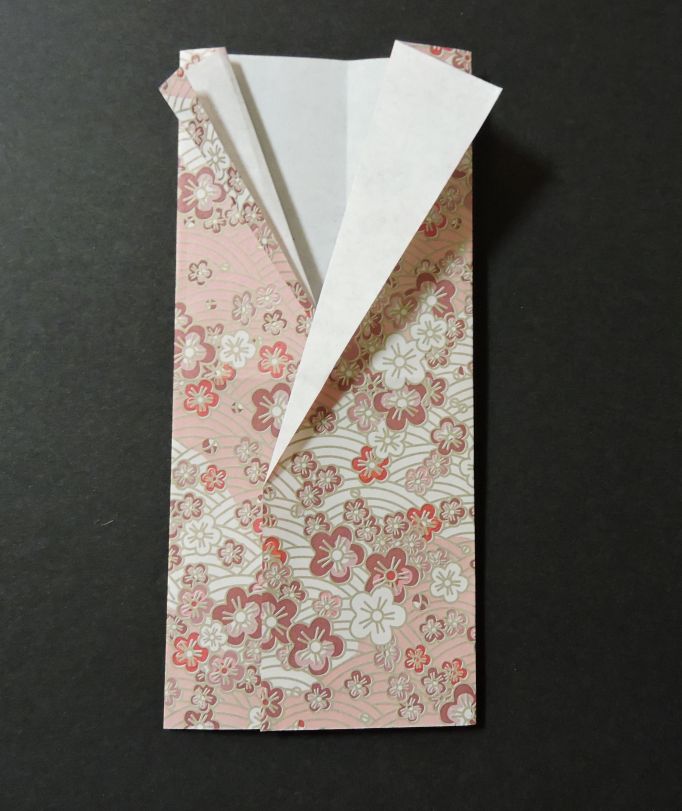
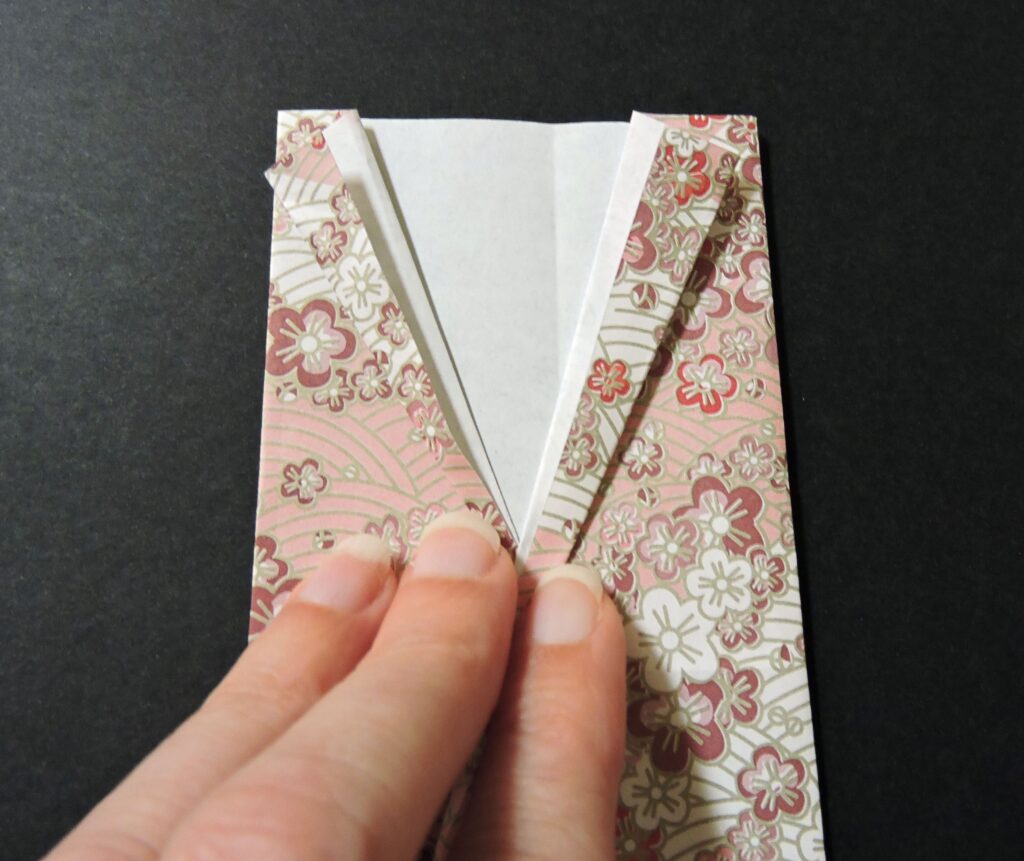
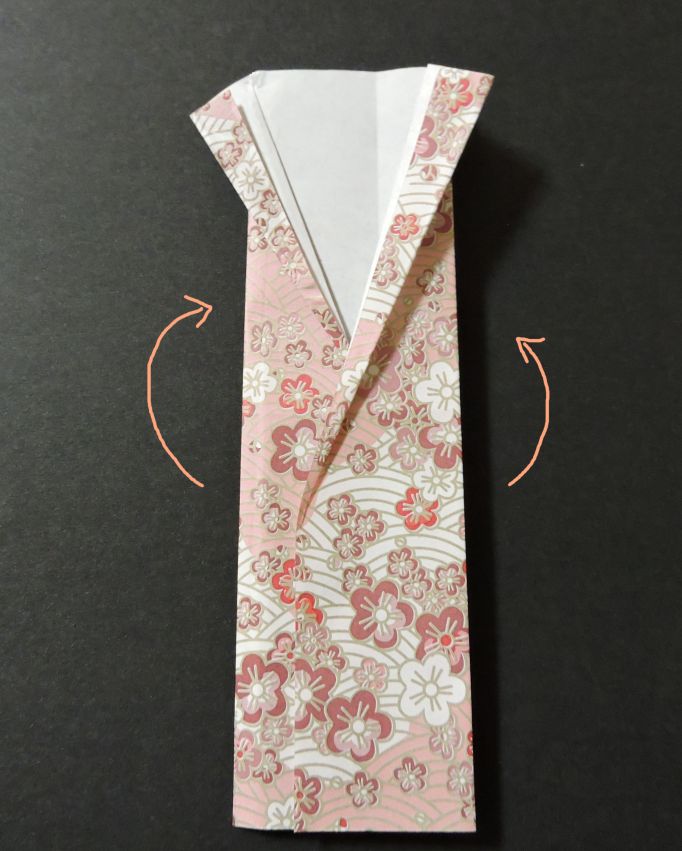
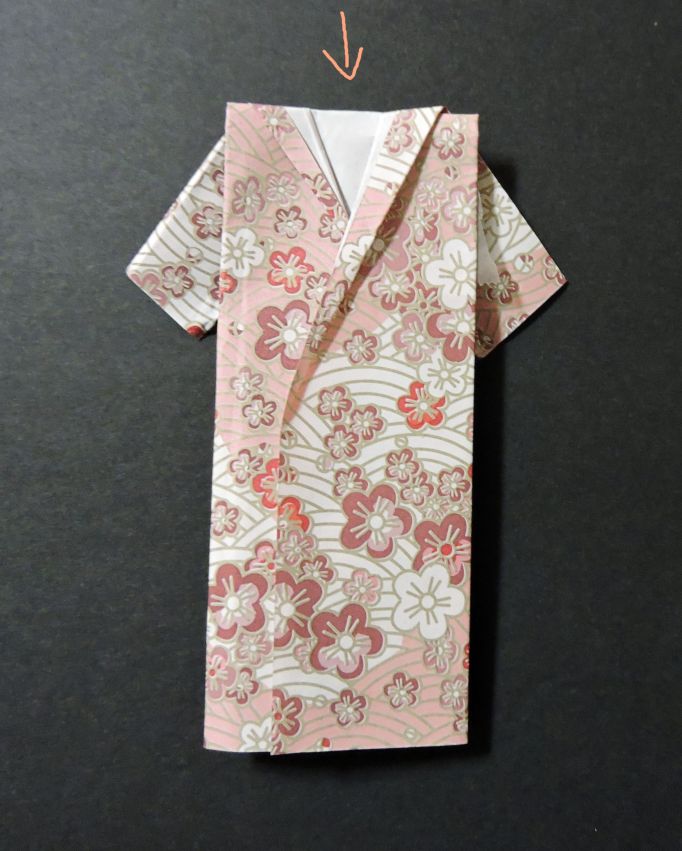
Kimono Origami Pattern One:
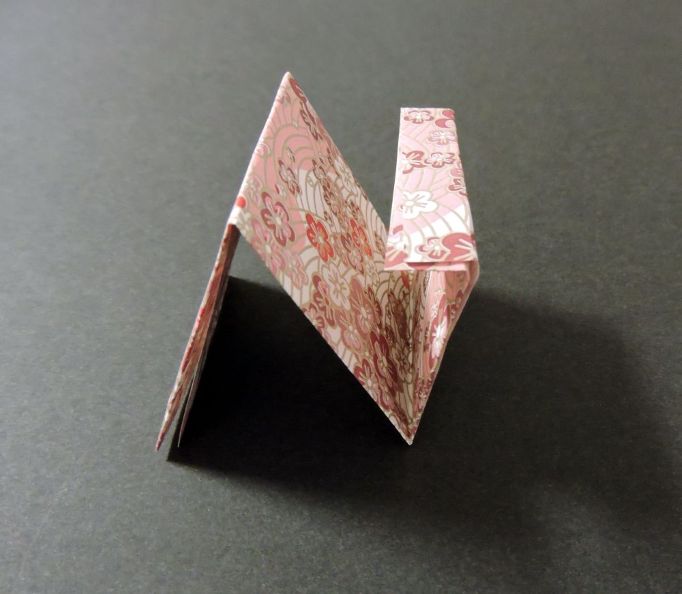

Kimono Origami Pattern Two:
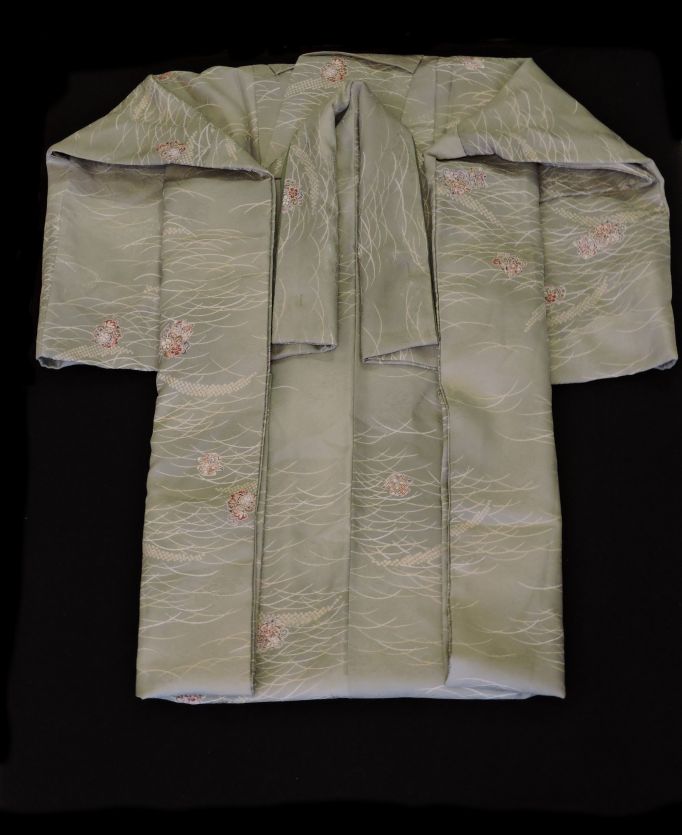
Folding The Kimono:
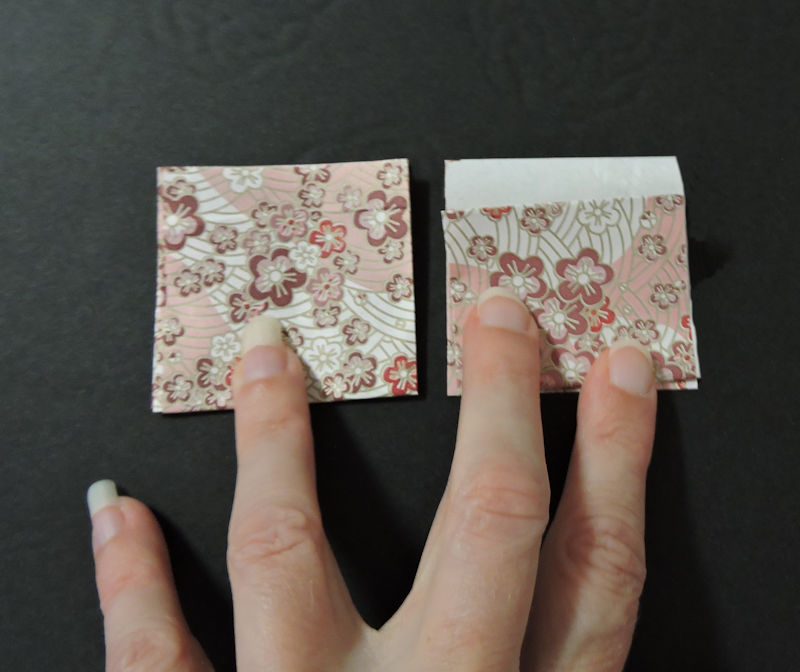
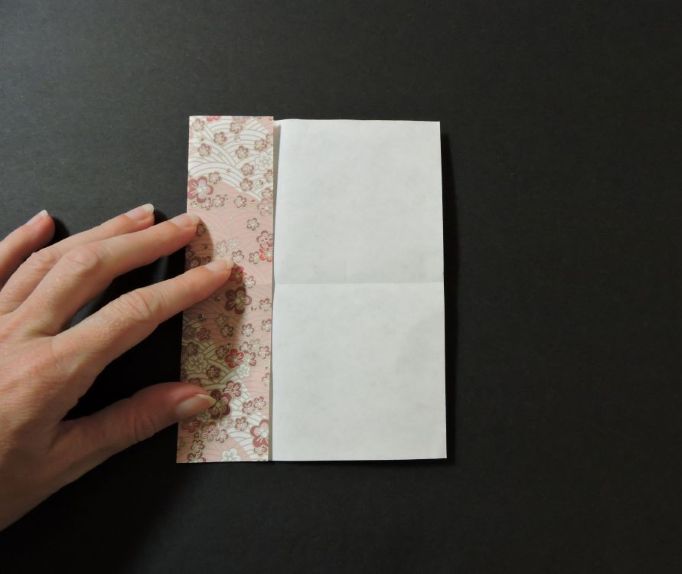
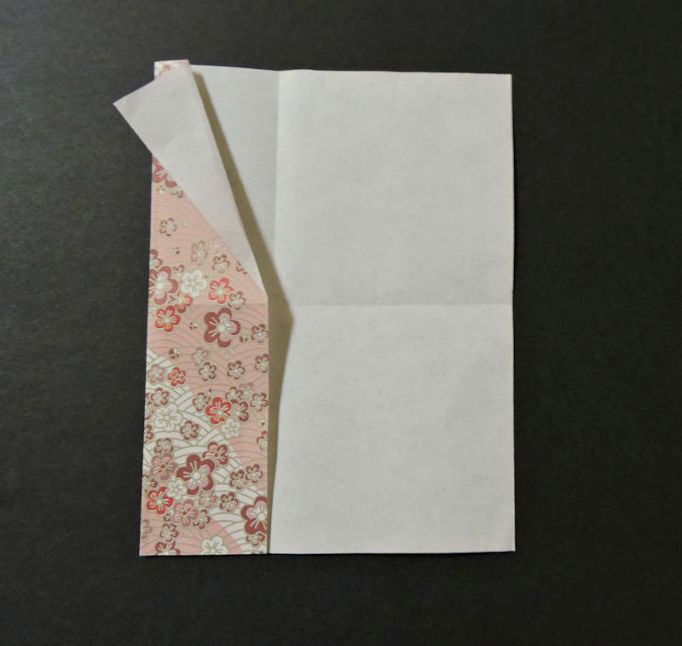
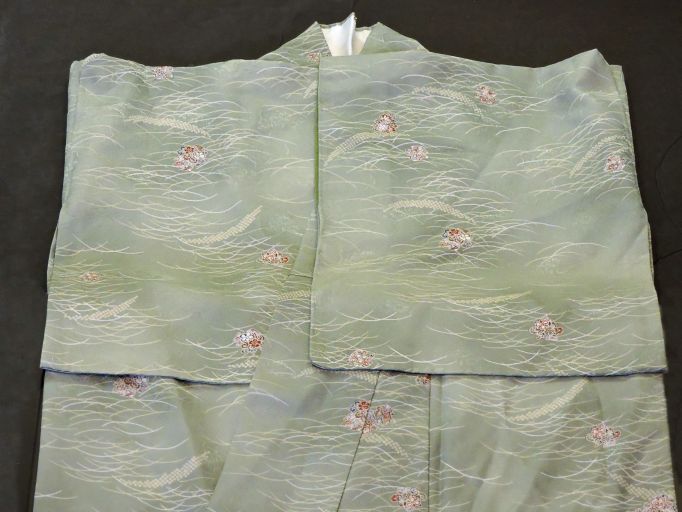
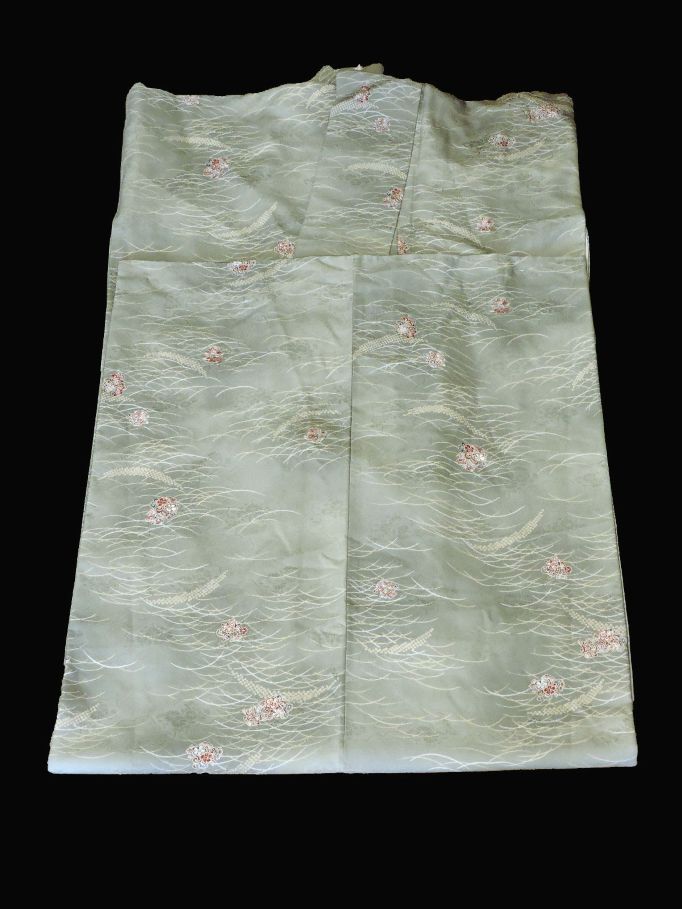
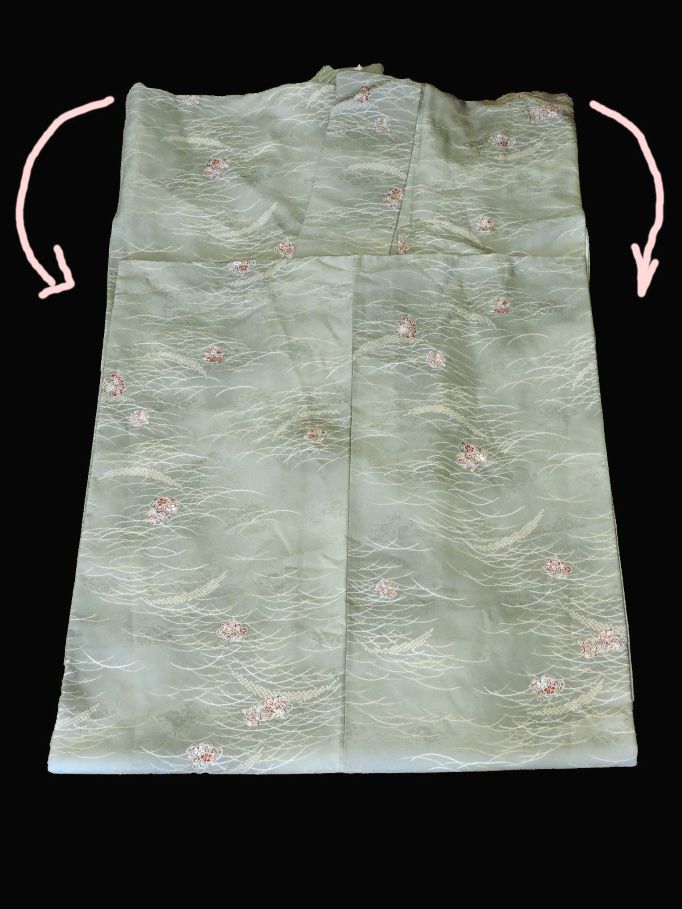
I mostly used origami pattern one and then added a few modifications from origami pattern two. Follow the pattern you like best. They both start with a long rectangle, so lay the kimono flat as shown below and fold in the arms and you’re ready for either pattern.
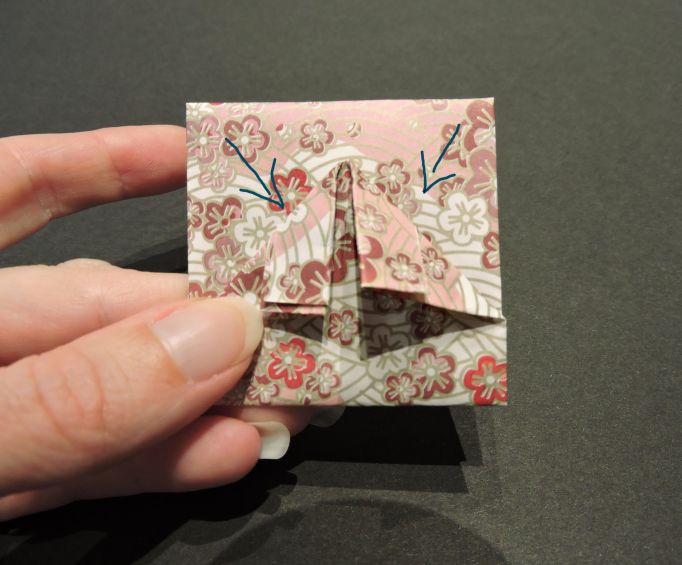
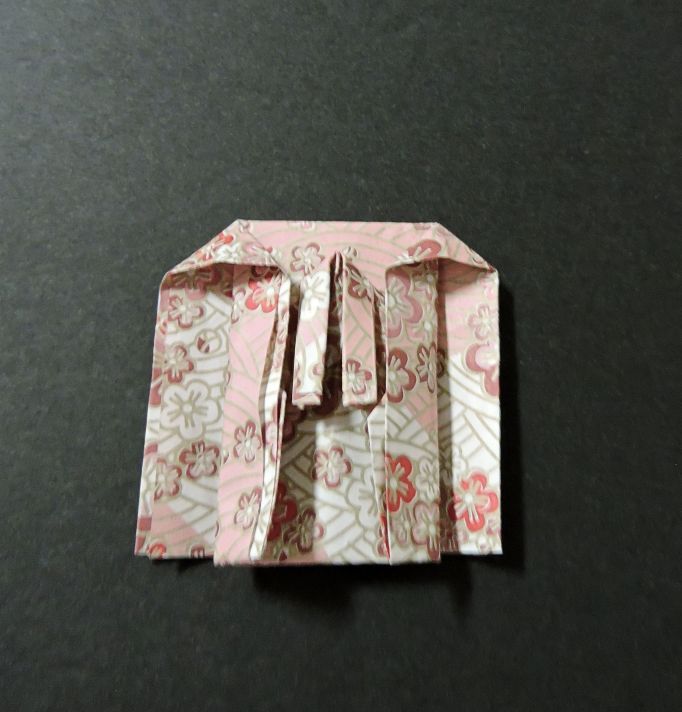
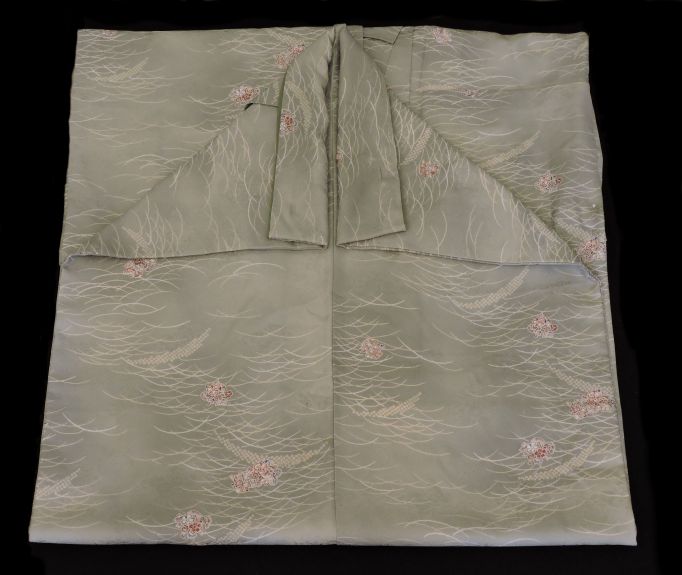
The first variation I made was to the accordion fold in step two of origami pattern one. Instead of doing an even three part fold into a square shape, I made the third part that folds back under shorter. Shown Below.
* Remember it is an accordion fold – so the top part in the above photo flips backwards and under.
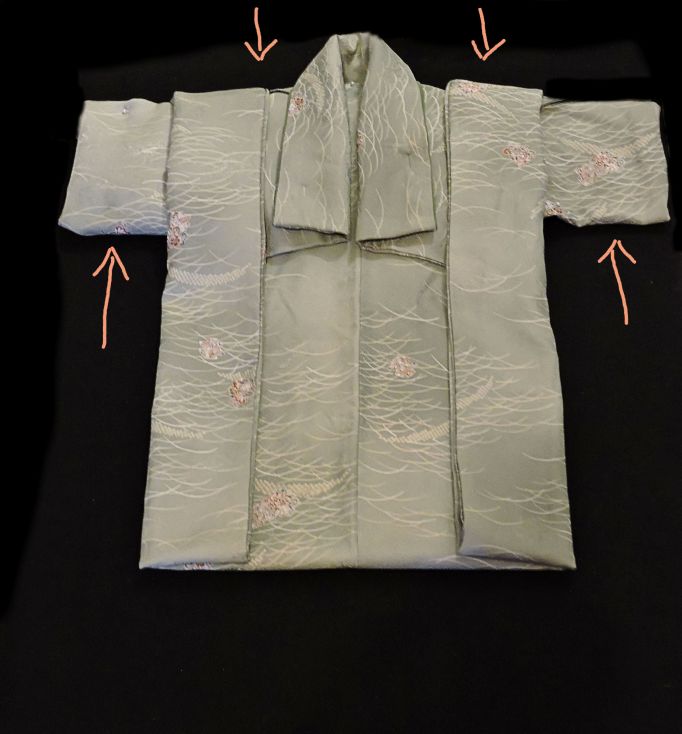
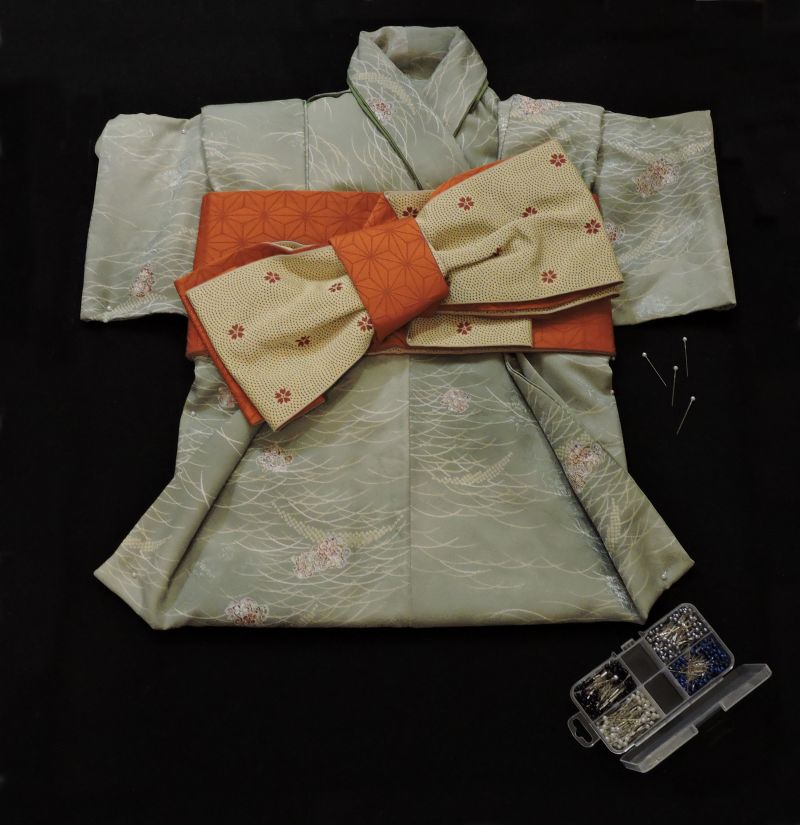
I used sewing pins as I went to secure the kimono to the felt backboard of the shadow box display case.
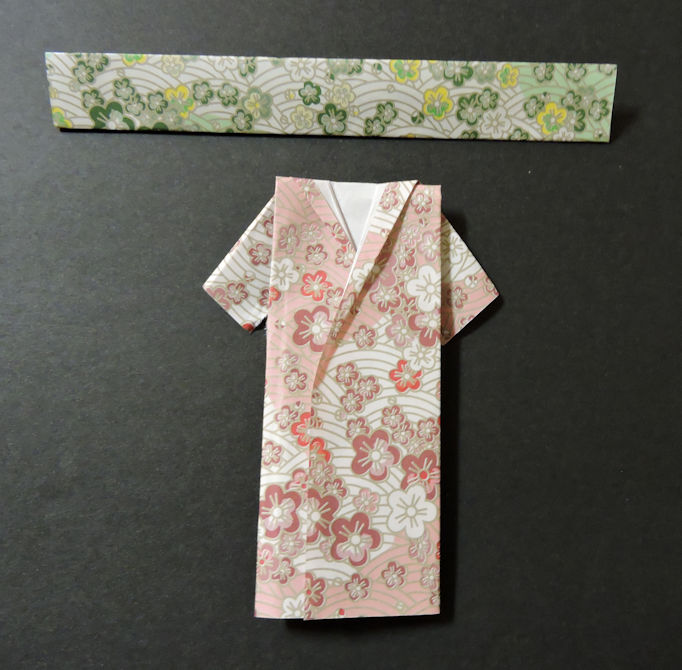
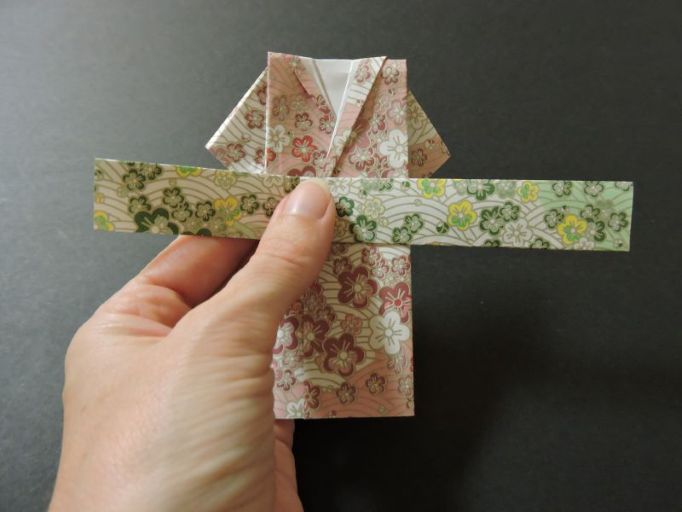
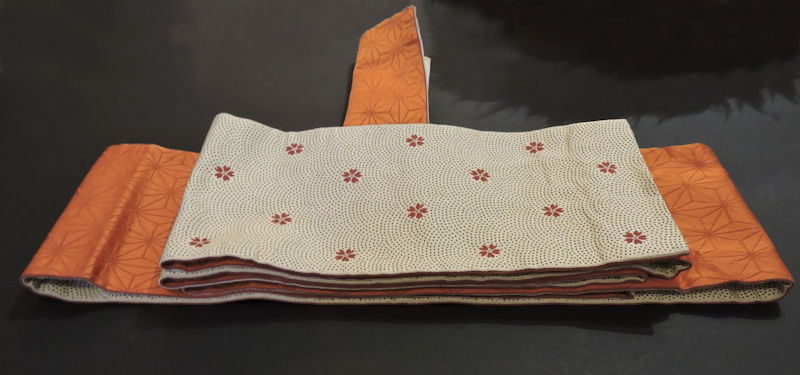
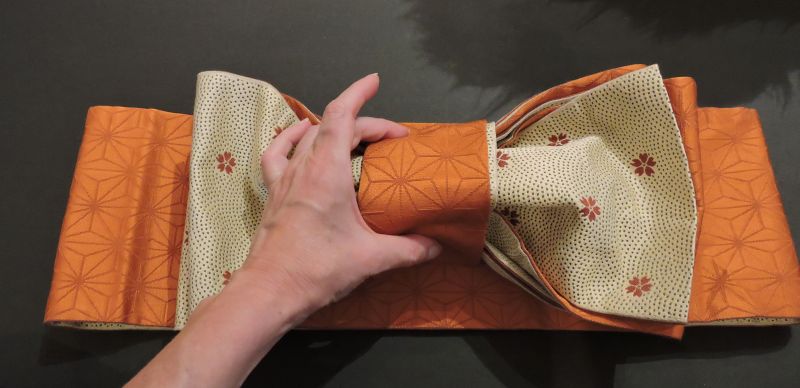
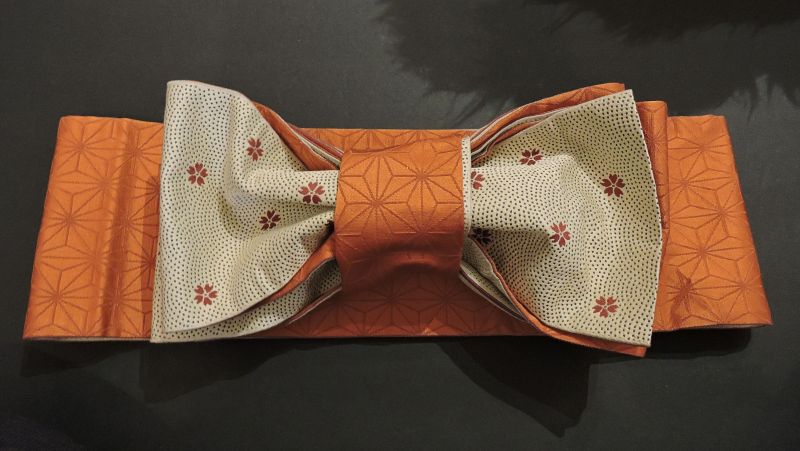
Folding The Obi:
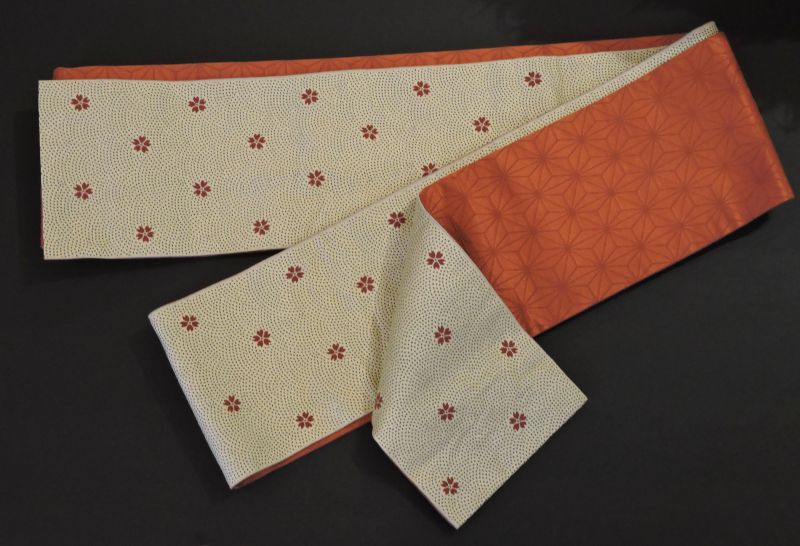
The obi adds a lot of thickness to the project, especially when tied in a bow. This thickness can make securing the glass cover to the shadow box more difficult. If it is too thick it might not fit at all. When making the bow use pins to secure it and remember to make it as flat as you can. You can also do other things with the obi besides a bow. I will show an example at the end.
Into A Bow
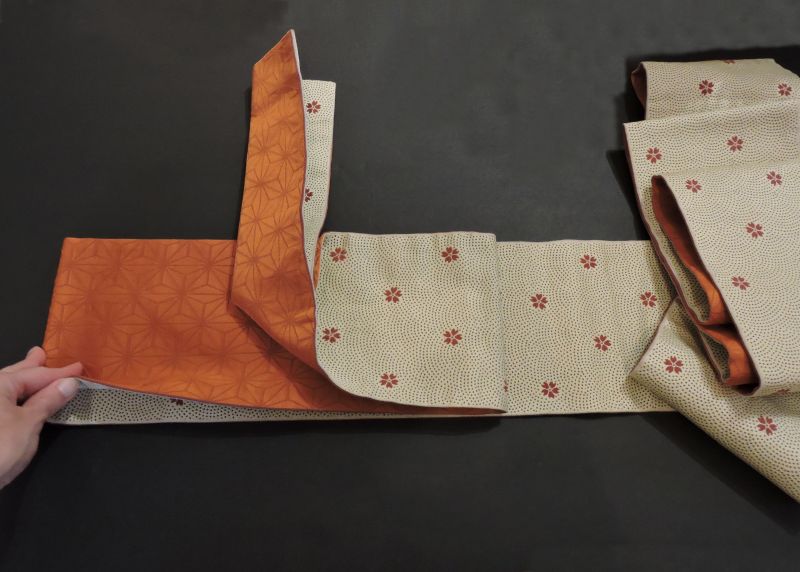
One end of the obi is folded in half and left protruding upward as shown above. The excess fabric is bundled up off to the right hand side.
Fold the excess obi fabric to left.
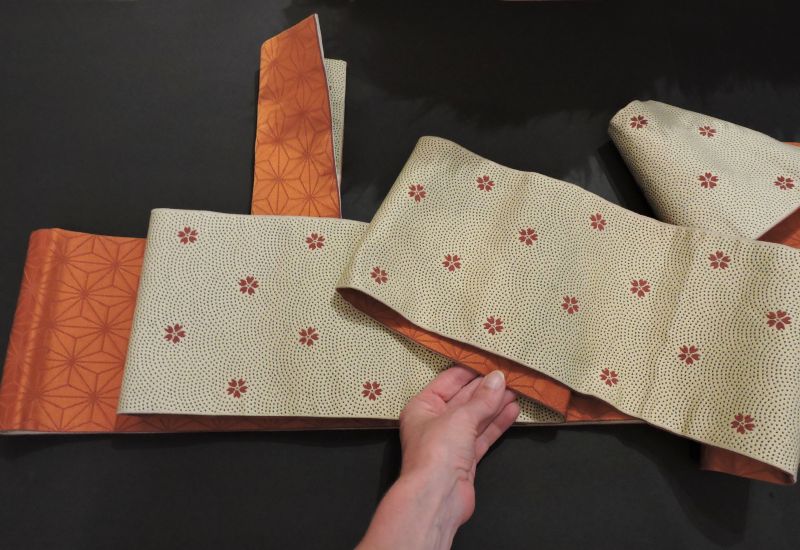
Fold it back again to the right.
Freestyle Obi Fold:
Here is a freestyle version of the obi to show how it can be folded in a simpler and flatter way. The sewing pins attached to the display case backer board will keep it in place.