One of the first dilemmas you may encounter with an embroidery project is how to transfer a design or sketch onto the fabric you want to embroider.
The best solution will depend on the type of fabric one is using. Two key variables that matter are how light or dark the fabric is and how transparent it is. I will discuss four techniques for transferring designs onto fabric: tracing, prick and pence, transfer paper, and washable stick and stitch. I will review each of these four methods by addressing what type of fabric is best for each and how they work.
Tracing:
Best For: Transparent fabrics, which will, most often, also tend to be light colored fabric.
If I’m working with a light colored fabric that has enough transparency then my go to transfer method will always be to simply trace the design with a graphite pencil.
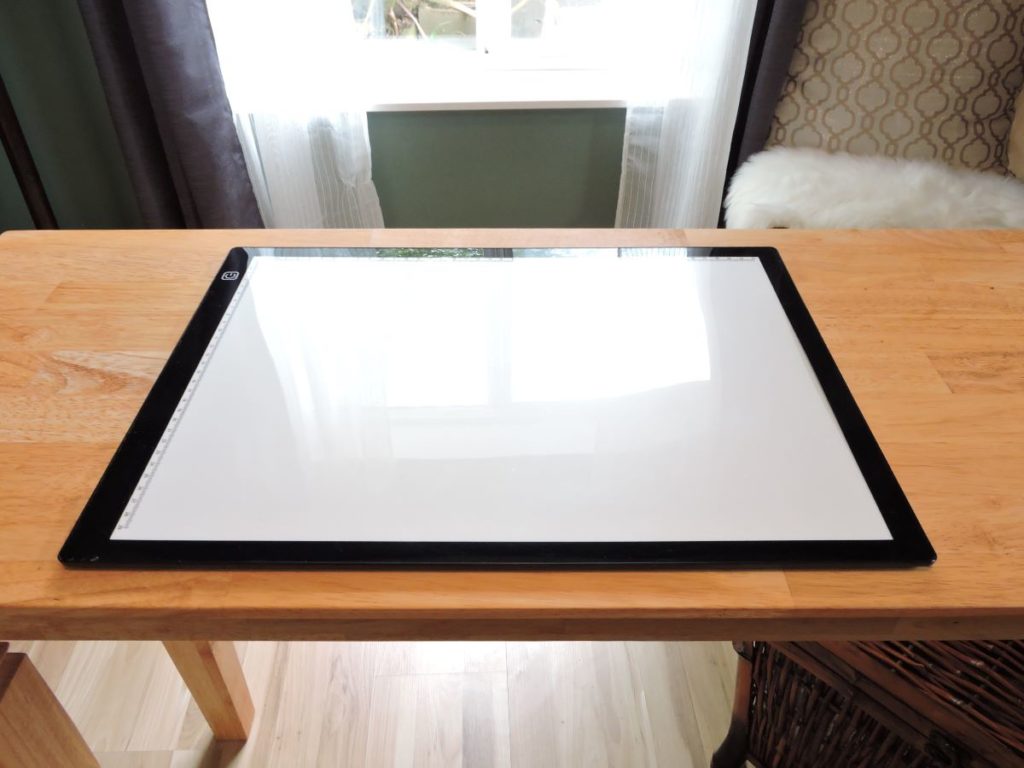
My kitchen table is made of glass so this method is especially easy for me. I just set my desk lamp on the floor and shine it up through the table. Of course not everyone has a glass table at the ready in which case all you need is a light box. Light boxes used to be somewhat bulky and potentially pricey. These days the newest LED boxes are ultra thin and super affordable. In fact they’re so sleek, they’ve started calling them light pads instead of boxes.
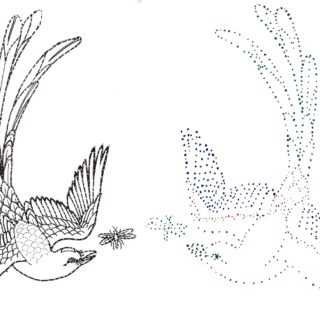
Method: Whether using a glass table, a light pad, or just taping something on to a window, the basics of tracing are pretty much the same and are more than a little self explanatory 🙂
Drawback: Tracing doesn’t work if the fabric is too dark or isn’t transparent enough.
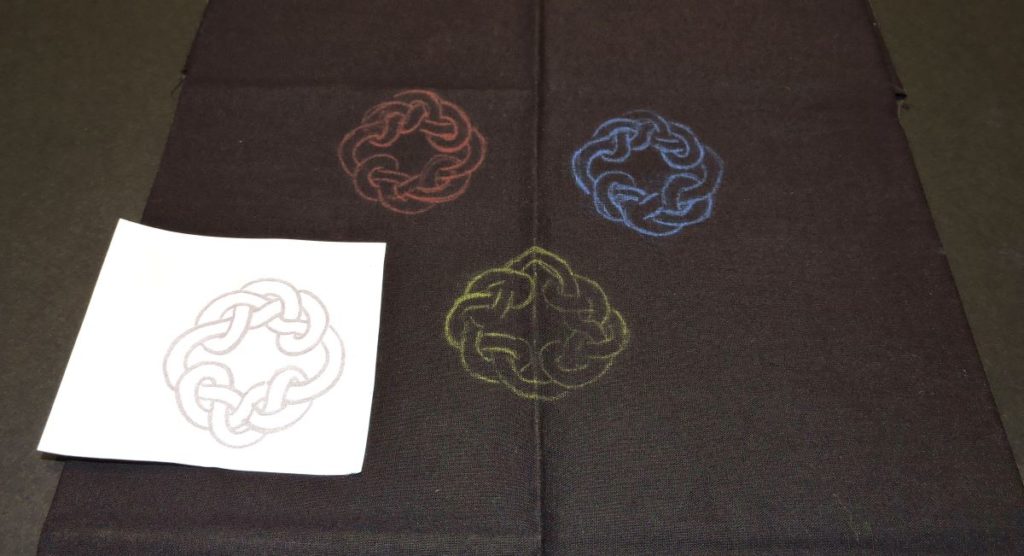
Transfer Paper:
Best For: Both Light and Dark fabrics that are not Transparent enough for tracing. Also best for quick and shorter projects.

Transfer paper is similar to carbon paper but has a couple key differences. Unlike carbon paper, transfer paper is wax free, which means lines made from it can be easily erased or painted over. Transfer paper also comes in different colors, allowing for its use on both light and dark fabrics.
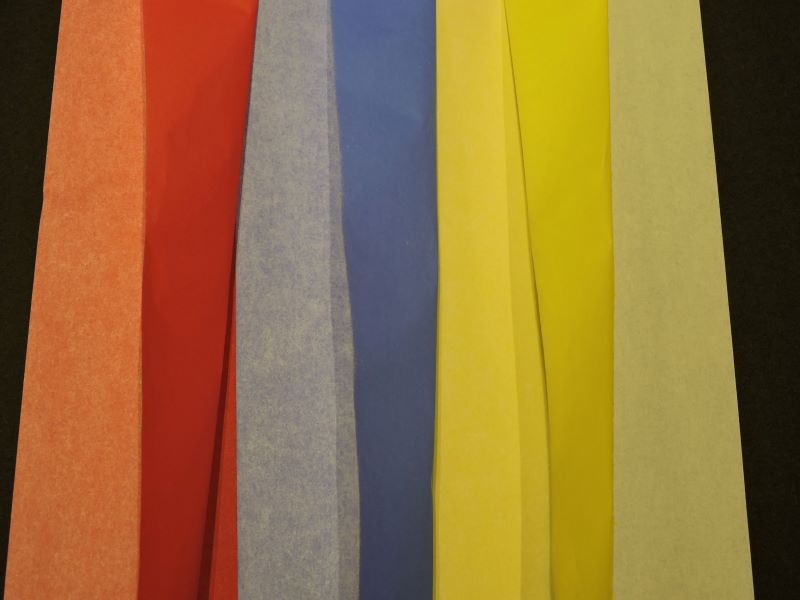
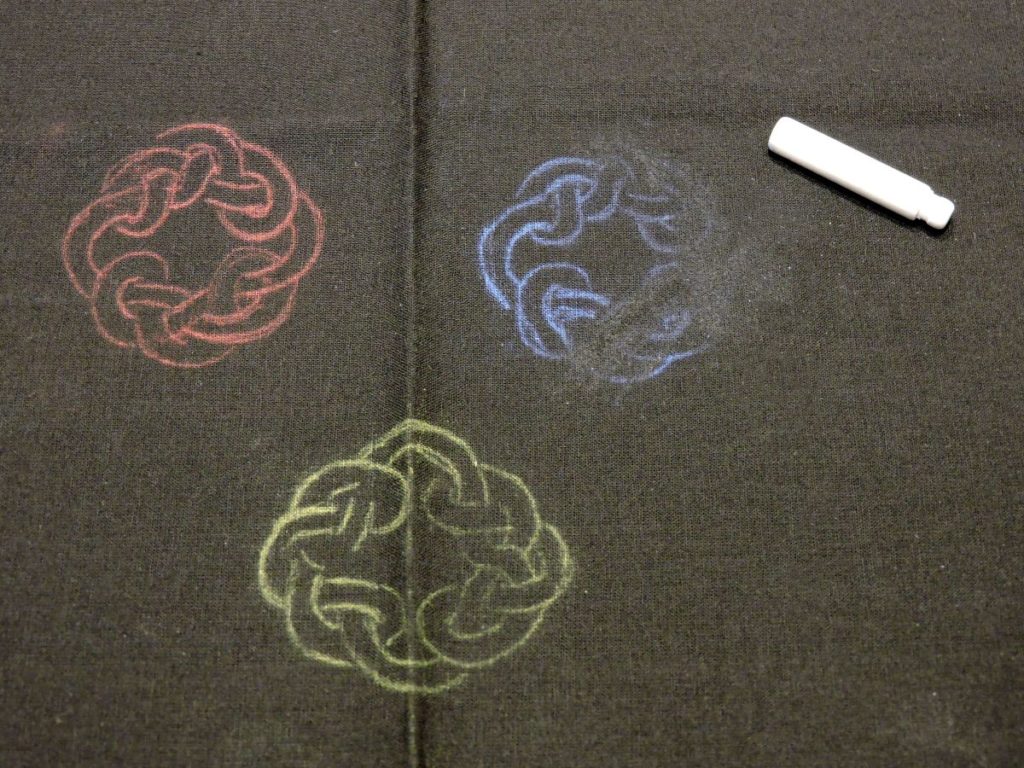
Method: Lay the transfer paper on the surface you want your design transferred to. Transfer paper has a vibrant, pigment rich side and a more faded looking side. Lay the faded side facing up and the vibrant side facing down onto the fabric. Then place your design or sketch on top of the transfer paper and trace out the lines by applying pressure with a stylus, or a pen, or pencil. I like using a stylus, but a ball point pen can be handy if you think you might lose track of what lines you have and have not traced over.
Drawbacks: The lines made using transfer paper tend to be short lived. They wipe away a little too easily and fade quickly. Unless you draw over the transferred lines with something more stable it’s best for quick, short projects.
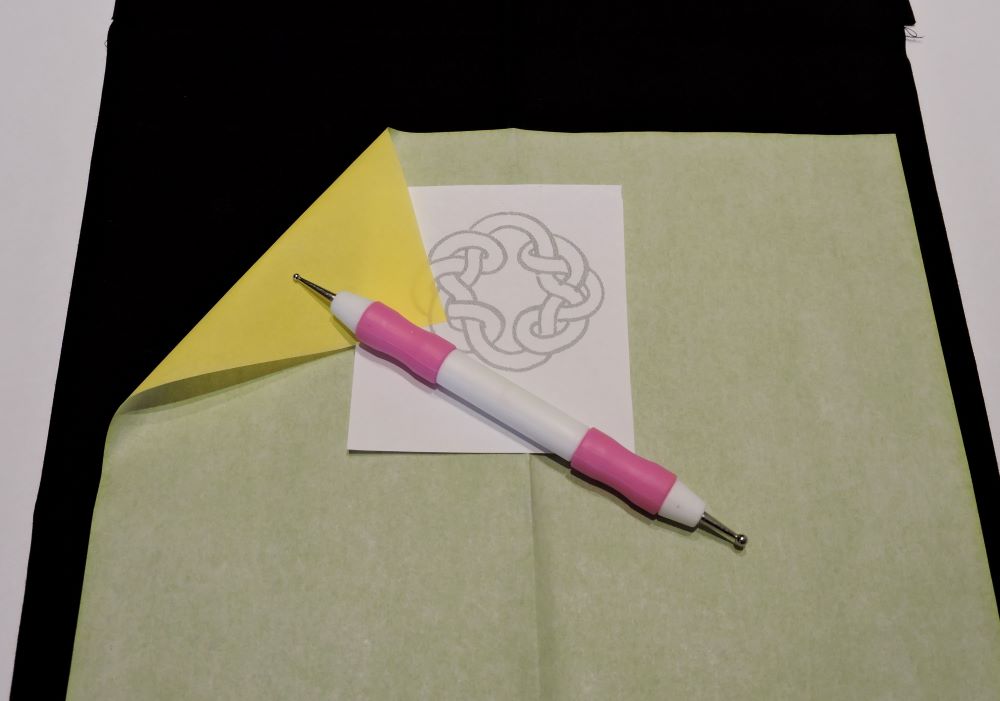
Prick and Pence:
Best For: Both Light and Dark fabrics that are not Transparent enough for tracing.
Method: A variation of the traditional prick and pounce transfer method. I’ve already written a post about prick and pence so rather than rewriting it, I’ll just link to it and you can check it out here: Prick and Pence
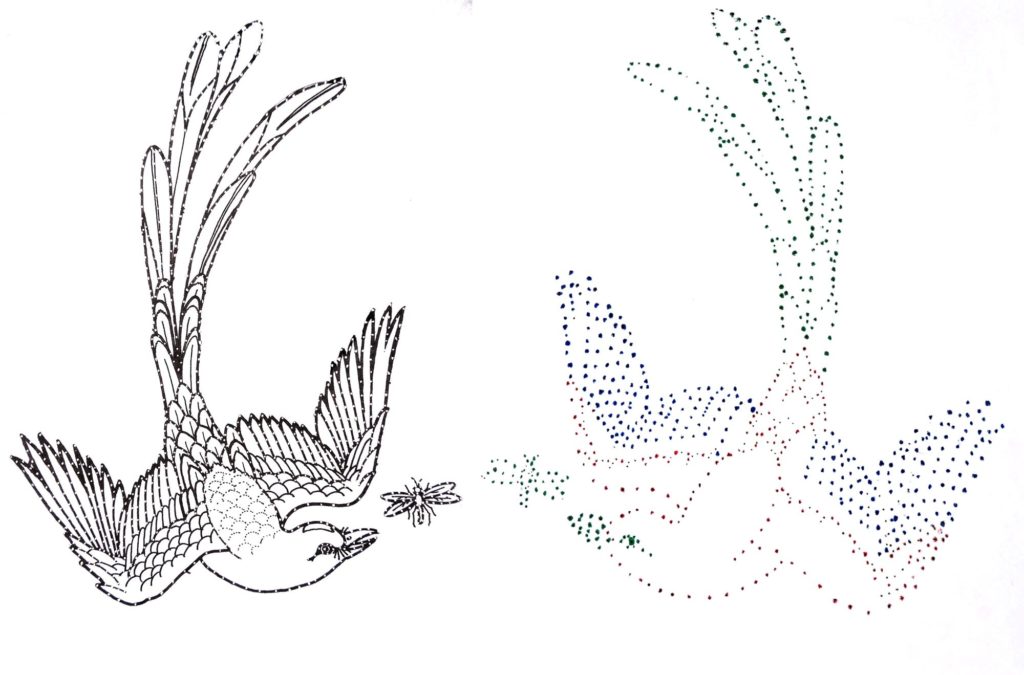
Drawbacks: More time consuming than other techniques. Pricking all the holes can be tedious and take longer than other techniques.
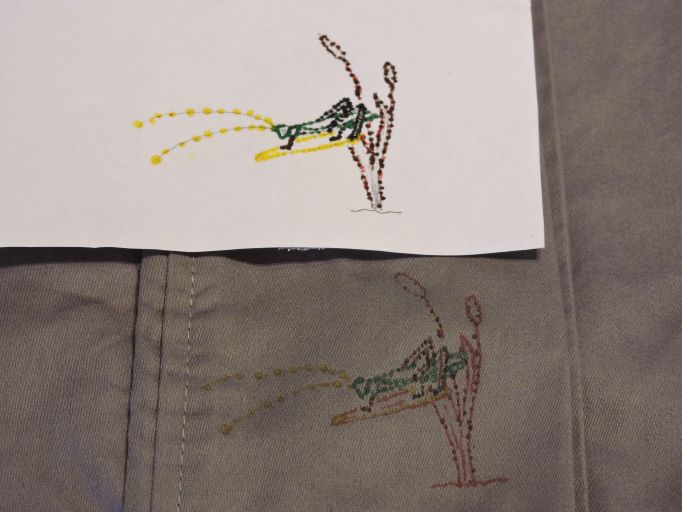
Washaway Stick and Stitch:
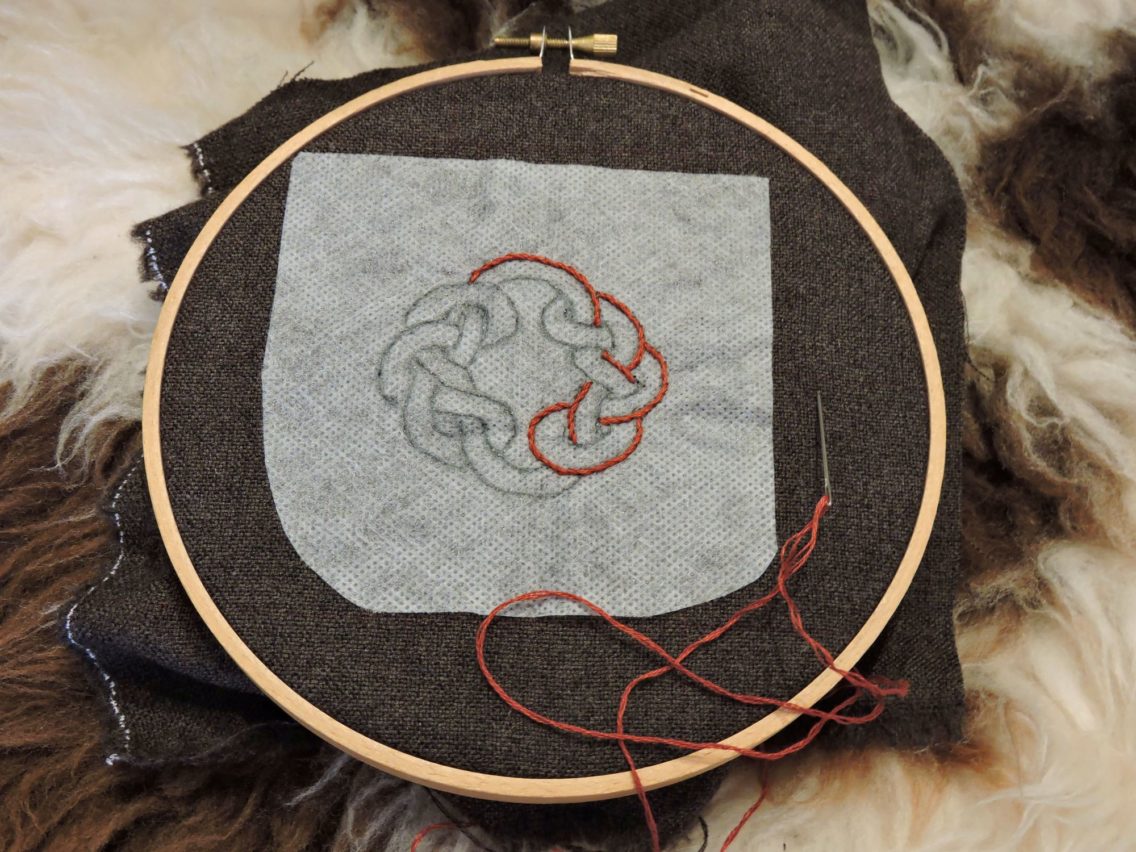
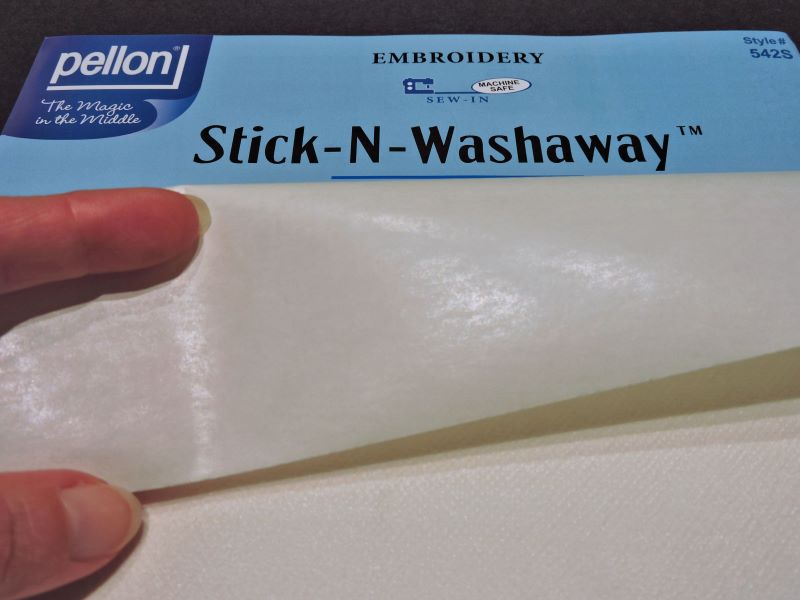
Stick and stitch is a fabric like material with an adhesive back. With stick and stitch the design doesn’t go on the fabric itself, it goes on the stick and stitch which then adheres to the fabric for the duration of your project. Once done the stick and stitch dissolves away in water.
Best For: Aside from tracing, this is the easiest and best transfer method. It’s good for basically any fabric you can wash afterwards. Because the design goes on the plain white stick and stitch and not the fabric, it is especially good for fabrics that already have patterns of their own that might make discerning any additional design difficult. Stick and stitch would also be good for machine embroidery or delicate fabrics that might benefit from a stabilizer while embroidering.
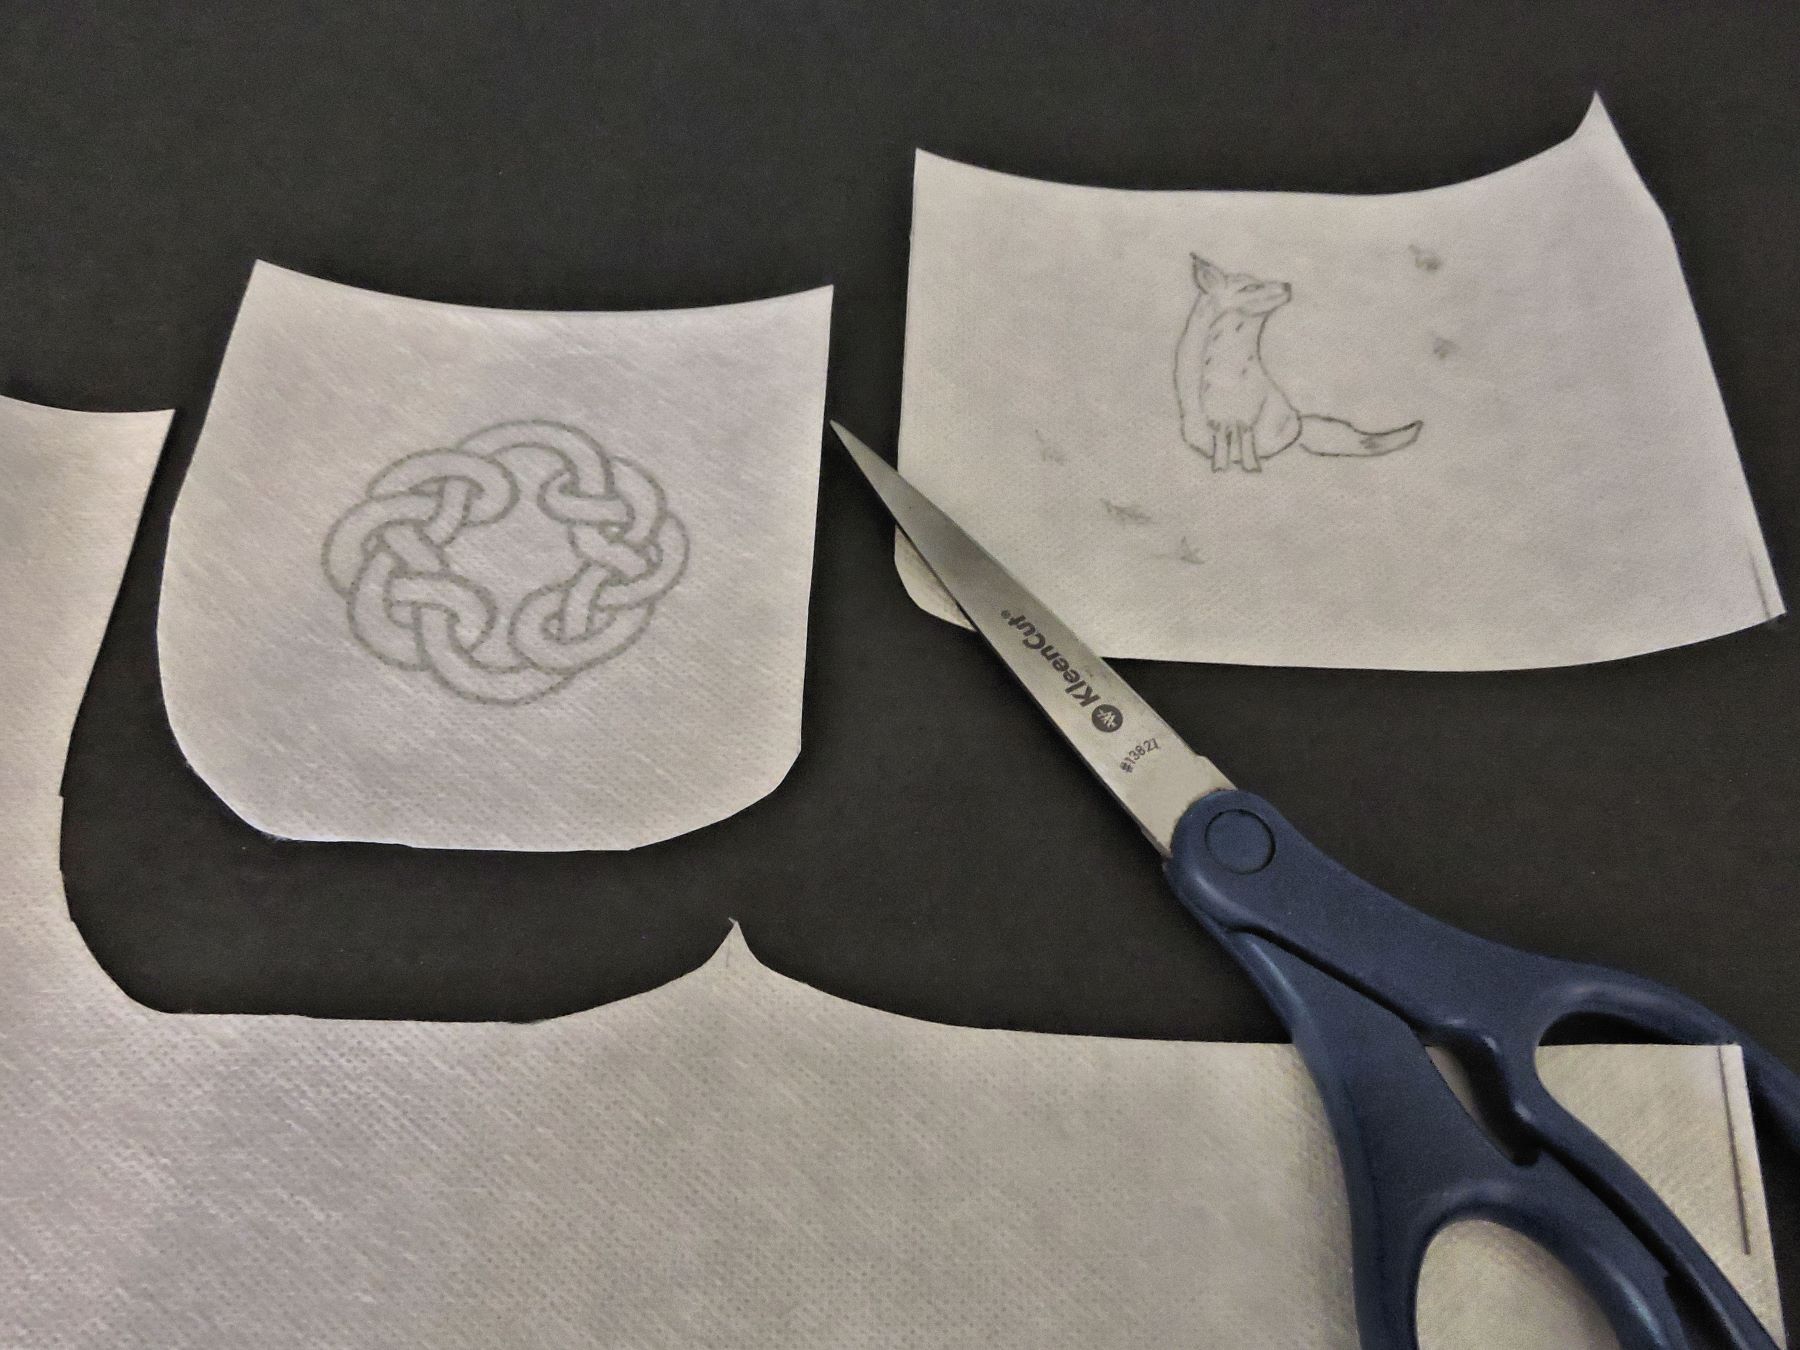
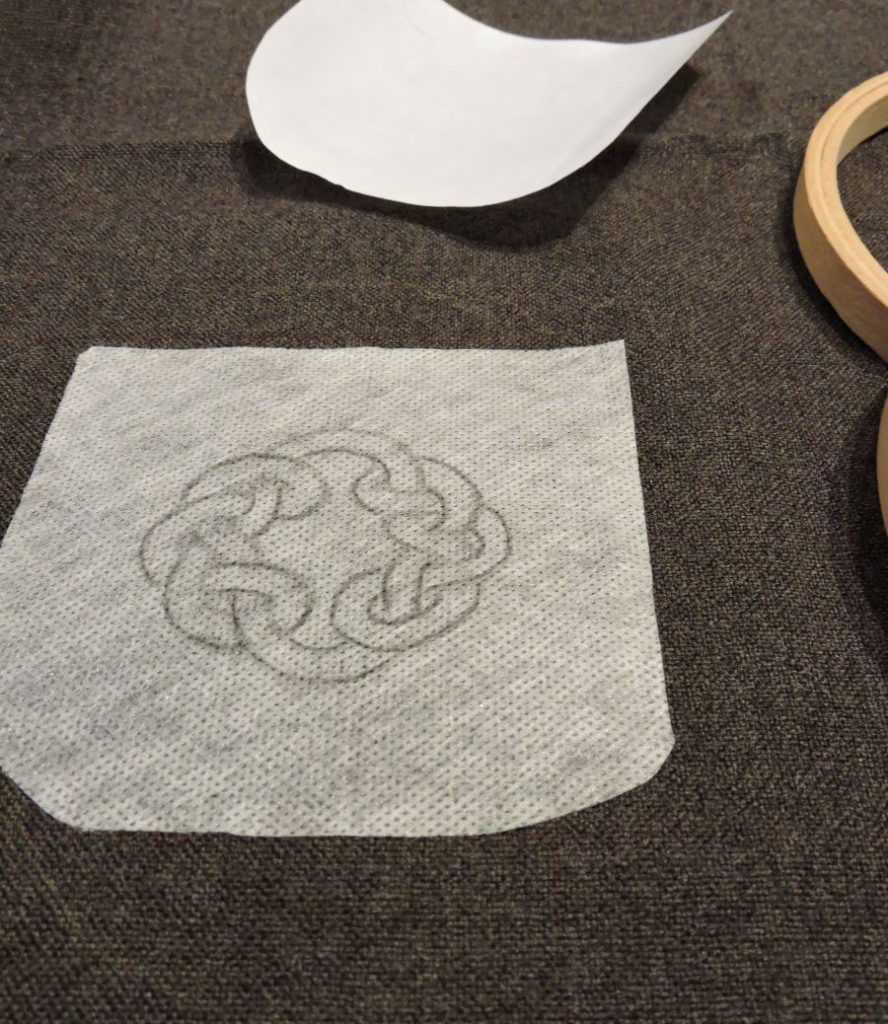
Method: The first step is to get your design on the stick and stitch. Stick and stitch sheets have a slick peel off back and a fabric looking front. The design goes on the fabric looking side. One aspect of stick and stitch that makes it great and easy, is that you can use a printer to copy your sketches directly onto the stick and stitch sheets. (Just test your printer first to make sure you know which way to load the sheet, for instance with my printer I load it face down.) Stick and stitch sheets are also quite transparent so it’s very easy to trace your designs onto them as well.
Once the design has been printed or drawn onto the stick and stitch sheet peel off the back and stick it to your fabric. If the design is small you can cut it out from the sheet (most sheets are the same size as a piece of paper) to make it more manageable and to save the rest of the sheet for another project. Don’t cut directly on the lines though, make sure to leave a decent size buffer zone of stick and stitch around the outside of the design.
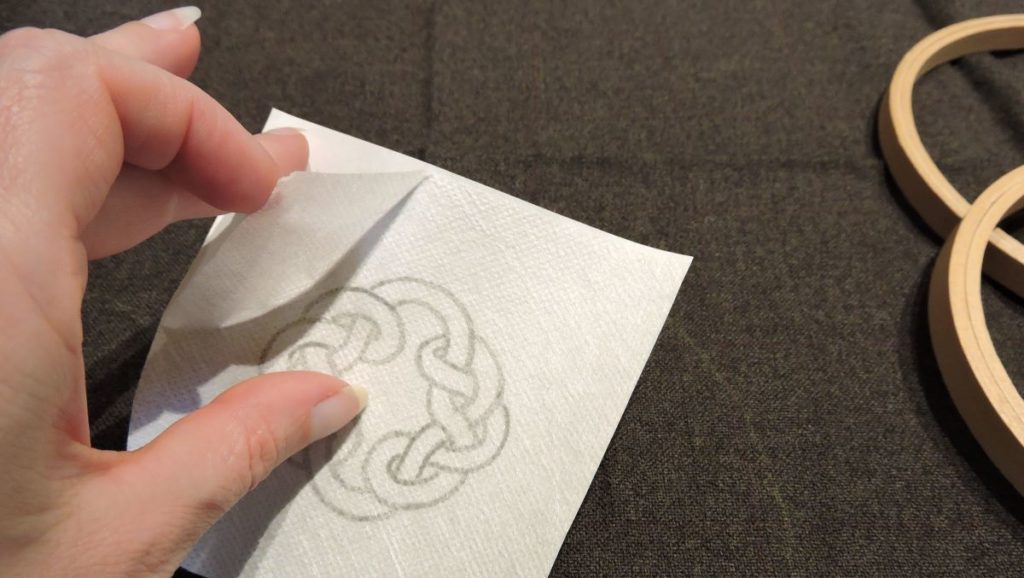
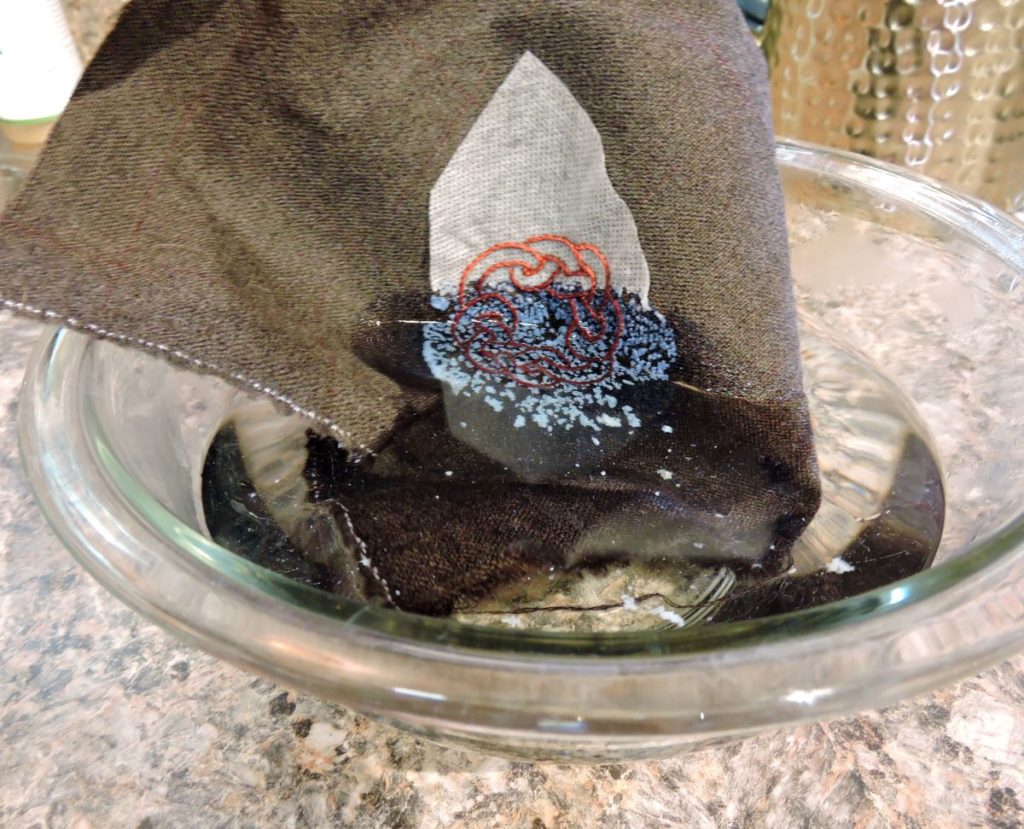
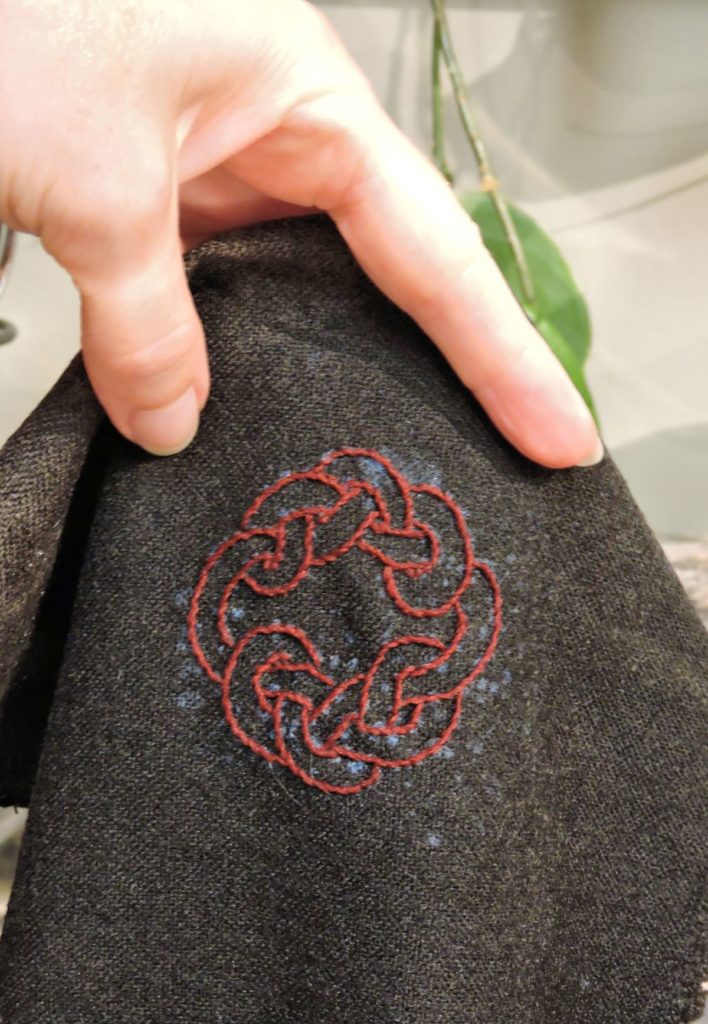
After it’s adhered to the fabric, just embroider directly over it. Once done the stick and stitch rinses right off leaving behind the finished embroidery.

Drawbacks: Stick and stitch is pretty awesome but it sticks better to smooth fabrics and tends to need coaxing to stay adhered. It’s almost more of a cling than a stick really. This is not that big a deal, it just means smoothing the edges of the stick and stitch back down onto the fabric every now and again.