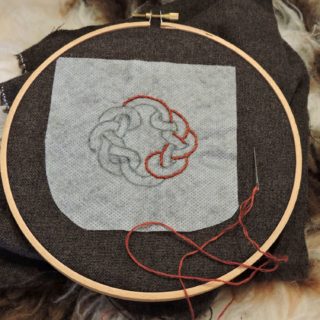
Perhaps the most traditional embroidery transfer technique is that of prick and pounce.
When looking into the history and tradition of prick and pounce I found it has long been used for more than just embroidery. Reference to it is made by artists such as Leanardo and Raphael. The technique, apparently called spolvero in Italian, was used by artists to transfer full size preparatory sketches or drawings, called cartoons, onto the artist’s final surface.
~ Reference: Carmen C. Bambach, (1999) Drawing and Painting in the Italian Renaissance Workshop: Theory and Practice, 1300-1600. Cambridge University Press
You can view a few of these pricked cartoons by Raphael from The British Museum’s online collection here: www.britishmuseum.org
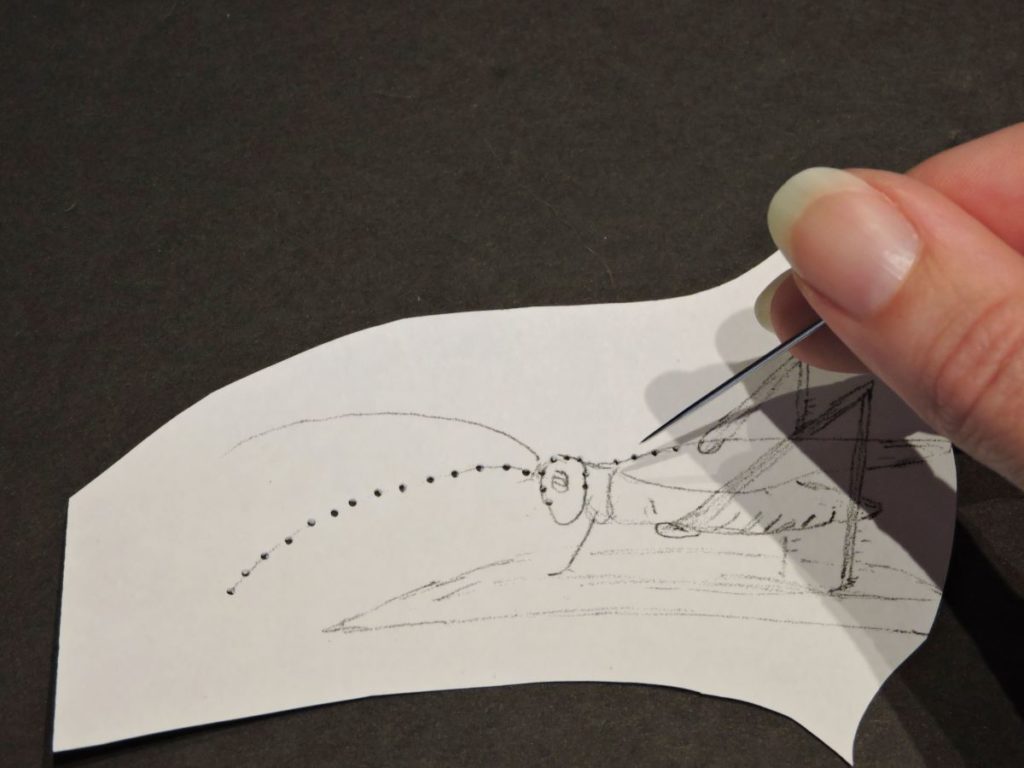
First one would use a needle to prick little holes along all the lines of the cartoon. Then after placing this pricked cartoon on top of one’s chosen base surface, a special powder called pounce was pressed through the tiny holes leaving a dotted outline of the drawing on the final surface. Traditionally a brush and paint would then be used to draw over the powder, connecting the dots and the transfer of the drawing would be complete.
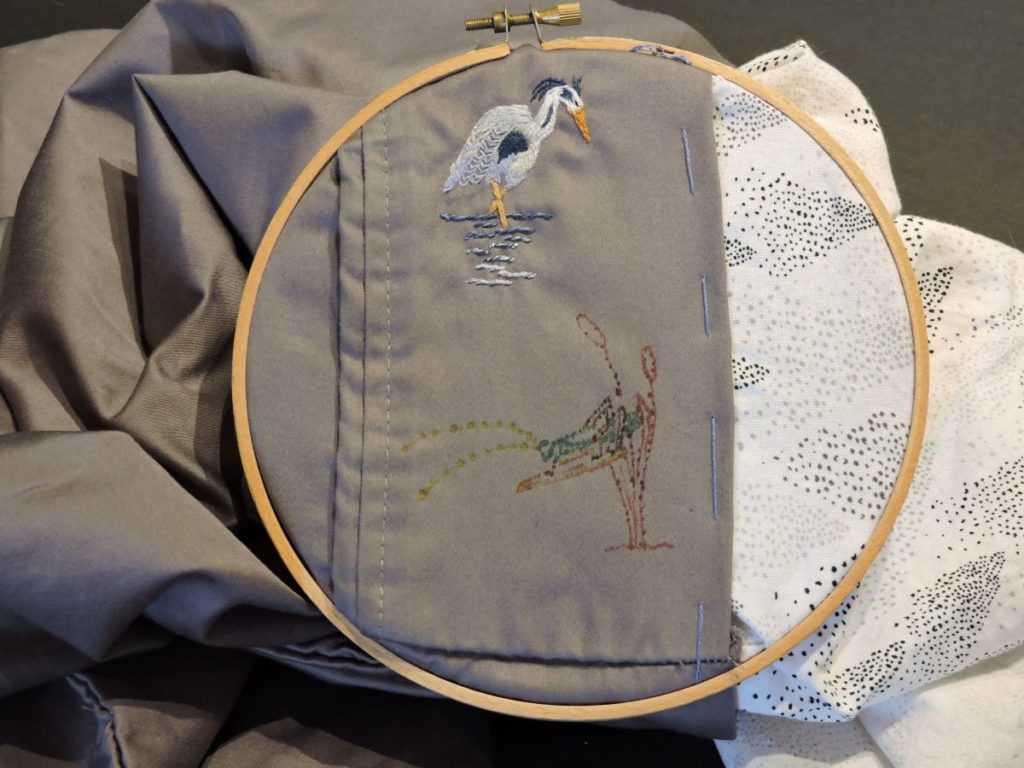
To this day prick and pounce is still used to transfer embroidery patterns to fabric. These days instead of paint and brush some people use marker pens to connect the pounced dots. My simple variation nicknamed prick and pence, takes this one step further using washable pens to make the dots themselves, leaving the powdered pounce out altogether. Pounce can be difficult to come by, is messy to use and easy to smudge, by skipping straight to pens the process is easily streamlined to the following three steps:
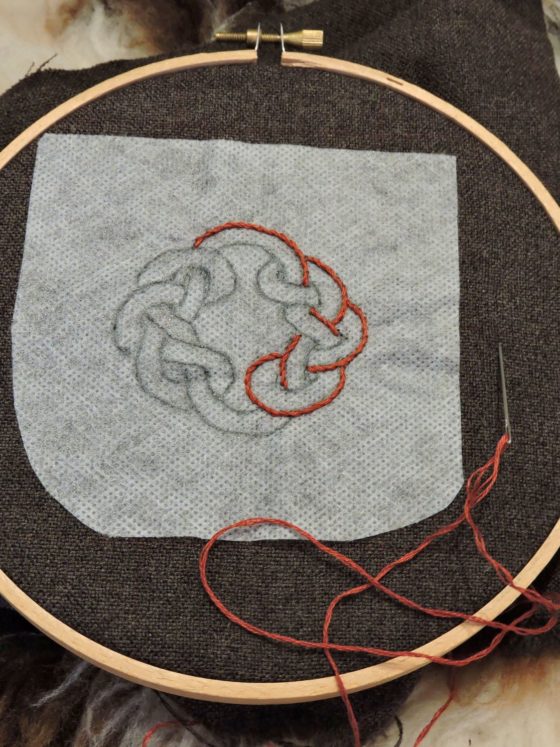
1.) Pricking :
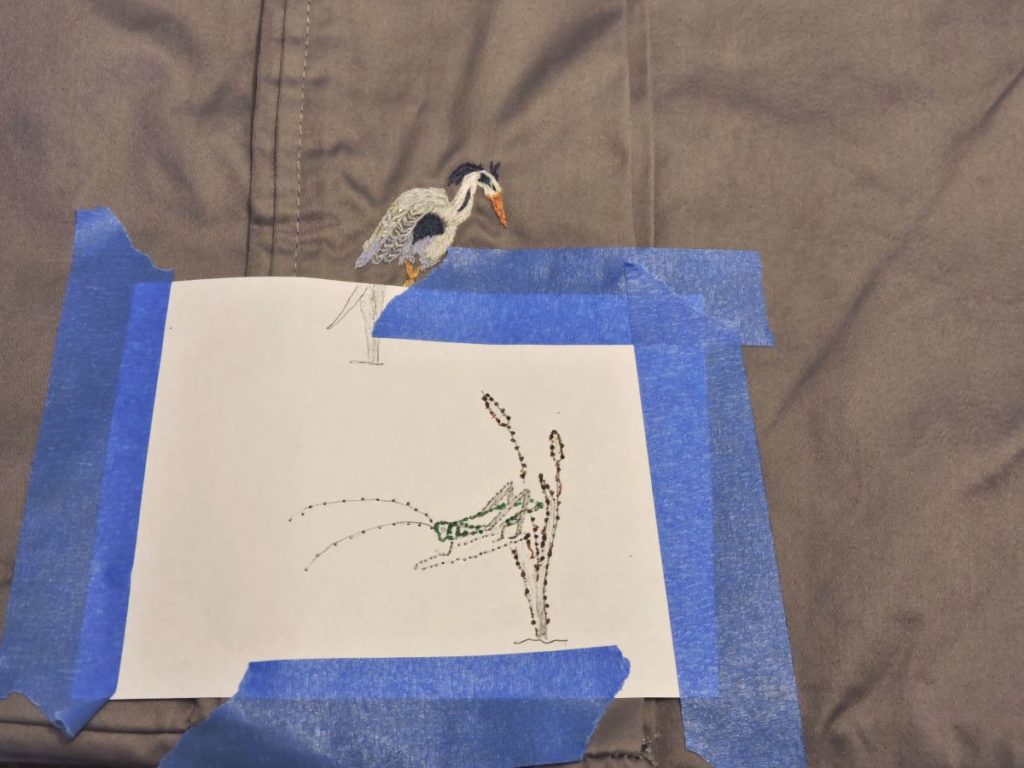
2.) Pencing :
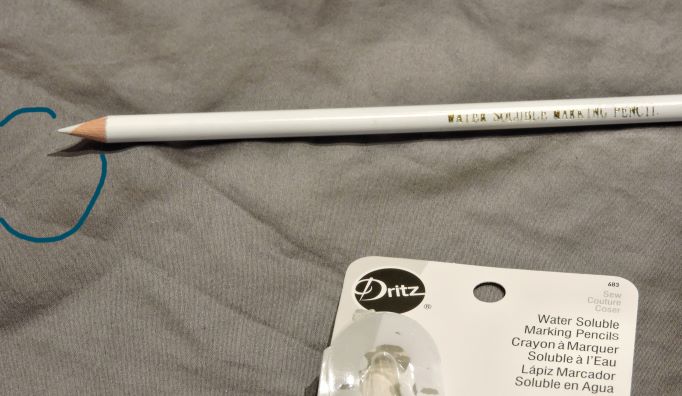
* Product Tip:
I’ve tried using products by the well known quilting/sewing company Dritz. Sadly, neither the water soluble pen nor pencil work very well.
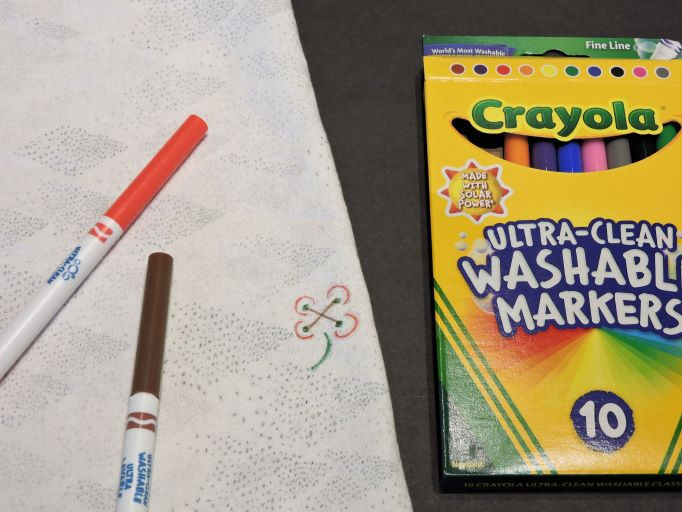
Instead I recommend Crayola’s made for kids’ pens. More specifically, Crayola’s ultra washable pens. I’ve used these pens a few times (on cotton fabrics) and they wash right out, they don’t even need soap, just a little water!
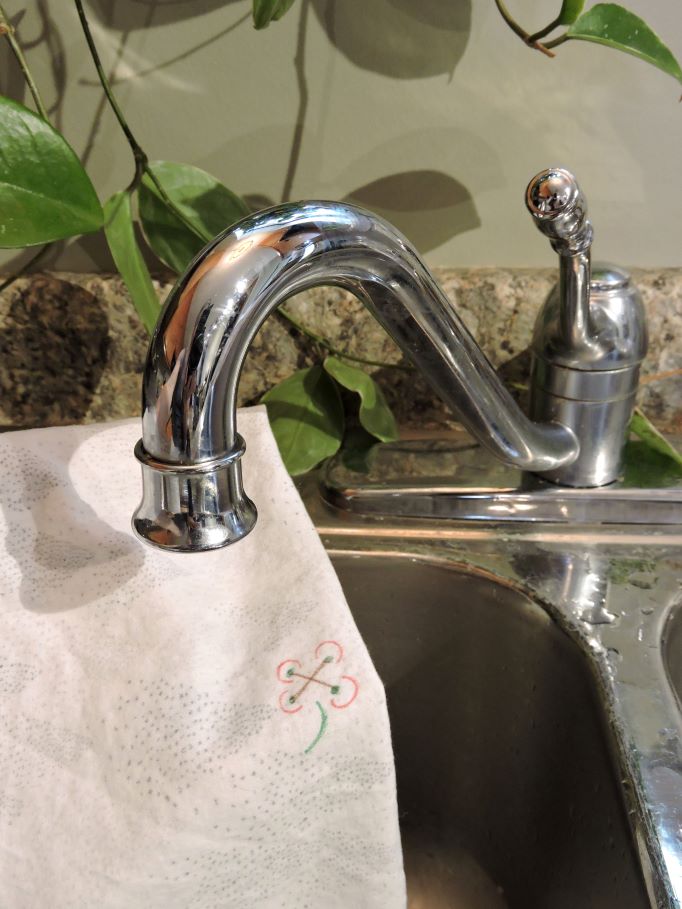

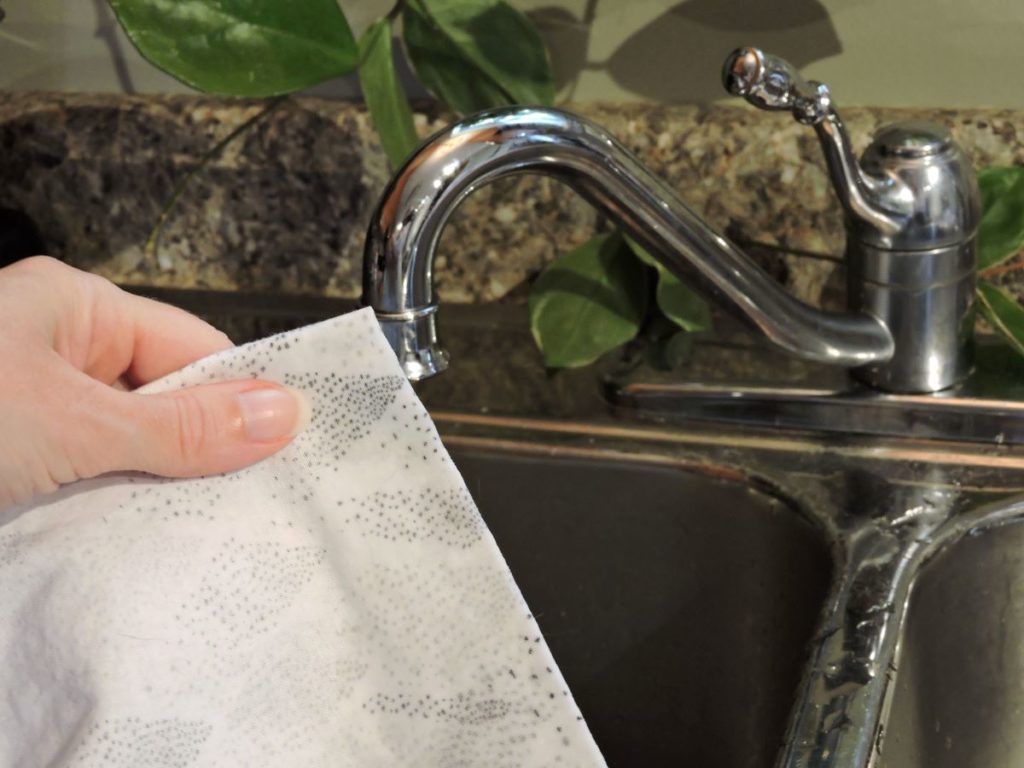
Now, I do want to reiterate that so far I’ve only tried them on cotton and cotton-poly blend fabrics, and of course I would always recommend testing any fabric first.
3.) Connecting the dots:
* Technique Tip:
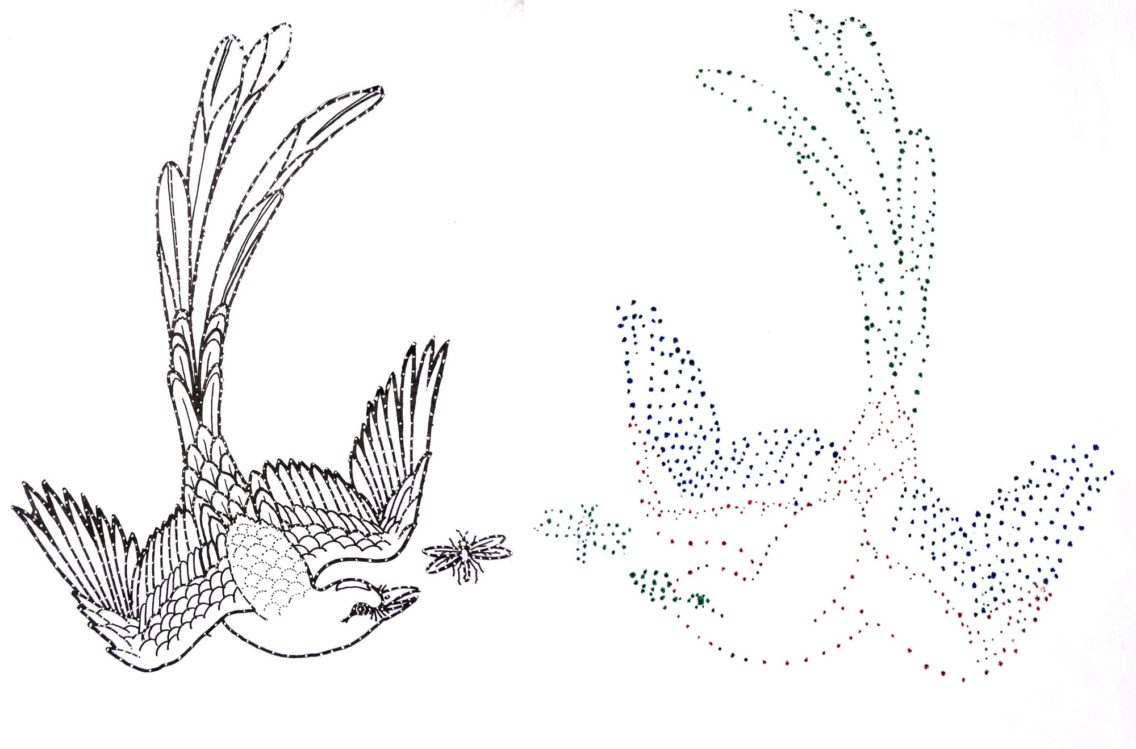
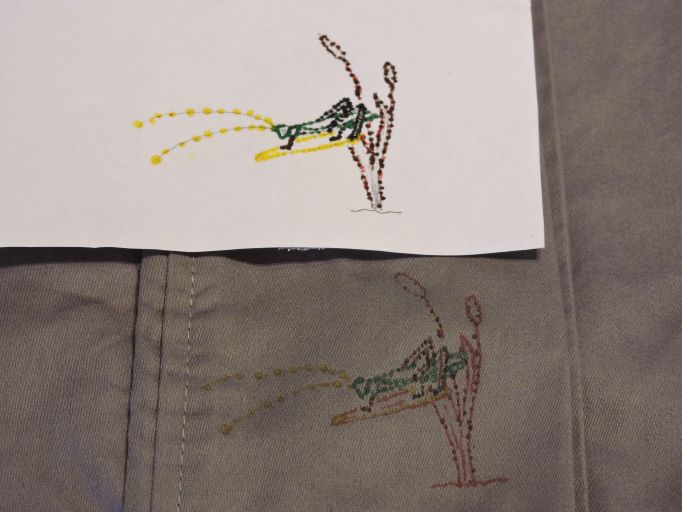
One of the great advantages of using pens instead of pounce is that you can use different colors to dot different line segments of a drawing. This is incredibly helpful with smaller and/or just more intricate patterns or sketches. When you have a lot of dots close together, intersecting each other, it can be difficult to tell which dots are part of which lines. Being able to pence with different colors is a significant advantage.