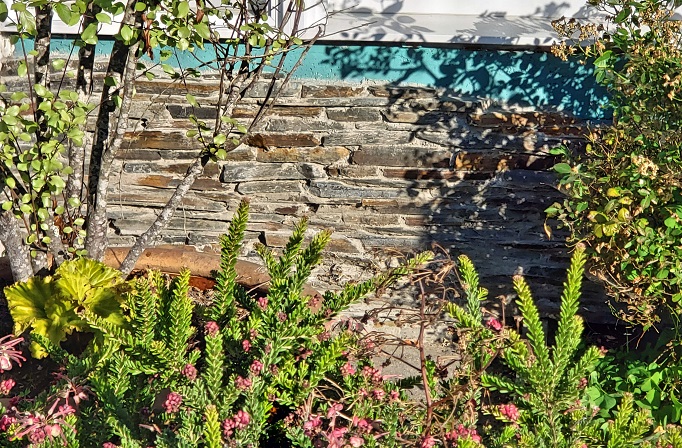
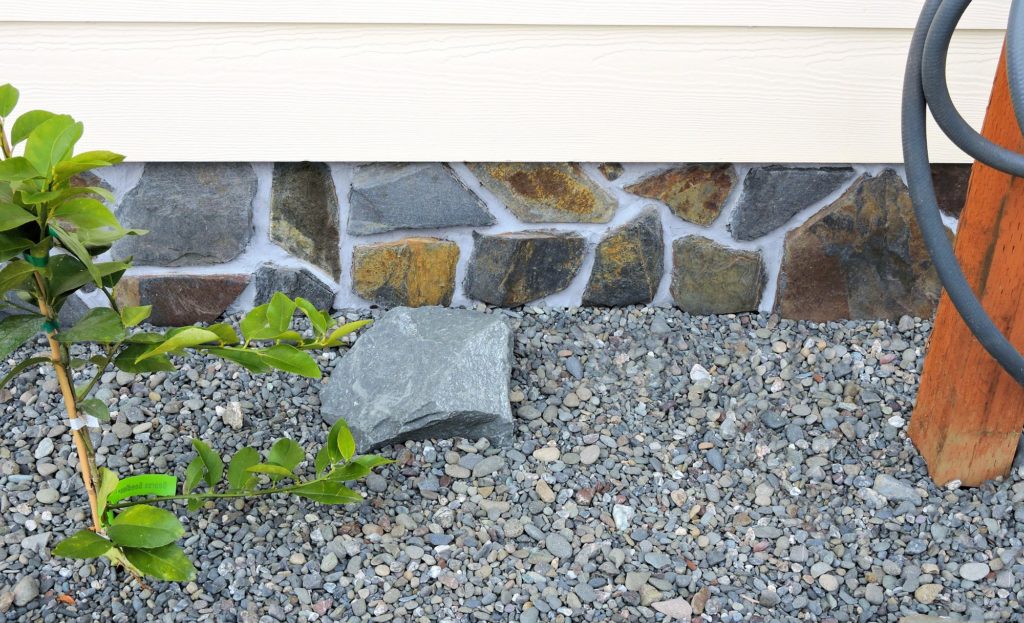
From the start I knew exactly how I wanted my slate covered foundation to look. Not the tightly packed “dry stack” look, nor the overly regimented appearance of tile, but rather something less uniform that would showcase the colors and natural beauty of the slate.
Placement of the Slate:
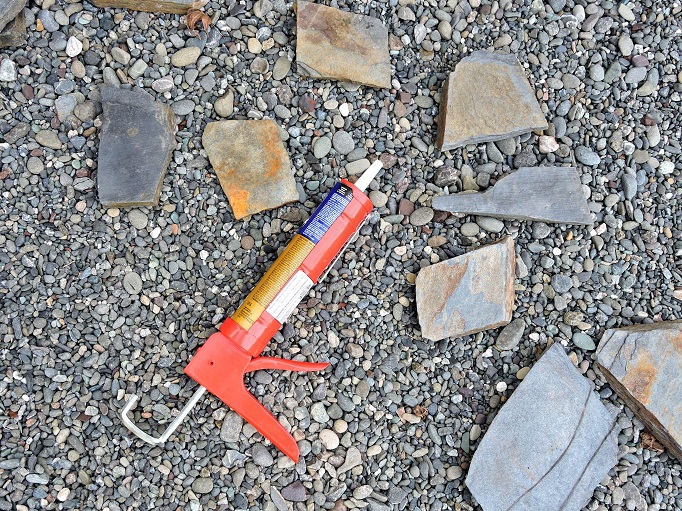
The stone slate I had was all different sizes and shapes so the most challenging part of the project, but also in a way the most fun and rewarding part, was arranging the placement of the pieces like a puzzle.
Another challenge was deciding what adhesive material to use. Classic mortar or some alternative.
After talking to several acquaintances I was advised that mortar, due to its longer drying time would be very difficult to work with, and it was recommended I use liquid nails.
After arranging and adhering the slate to my foundation the next step might have been to use a sealer on the slate before grouting. When working with a porous or very textured stone like slate a sealer is often used before grouting so the grout won’t “fog” up the slate. But sealers can drastically alter the appearance of the slate, leaving the stone glossy, and often darkening the slate and potentially diminishing the more subtle color variations. Here is an example of an exquisite floor addition using slate.
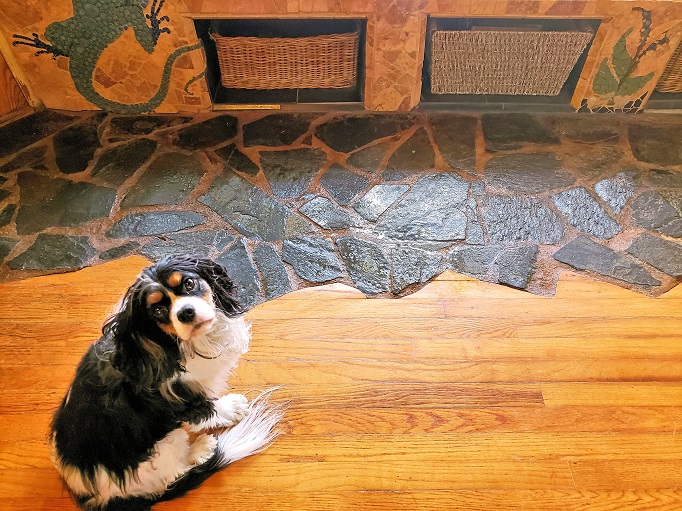
Being a floor with foot traffic, a sealer was a more critical component for this project. Also a beautiful glossy sheen can be very desirable with flooring. But I wanted a natural look for my foundation that would match my front yard’s rock garden. Since I decided not to use sealer on my slate the next step was to grout.
Grouting the Slate:
I used a poly-blend grout. At first the grouting was difficult, extremely difficult. The amount of water added to the grout has to be just, just, just right. Sure, there are instructions on the box, but it only told me how much water to add for the whole box. I tried being super careful with measuring cups and dividing the recommended ratios but honestly I just had to get a feel for the right consistency through trial and error. Grout is the ultimate Goldilocks, too much water and the grout doesn’t stick, too little water and it definitely doesn’t stick. But once I got the ratio and consistency down, applying the grout went quite smoothly.
The look I was going for meant that the typical trowel (or float) method wasn’t going to work.
The first issue was the unevenness of my slate. Since each slate piece had a very different thickness the grout couldn’t be exactly flush with every piece the way it would with identical ceramic tiles.
The second issue, (as I mentioned before), was that because I decided not to seal my slate I had to be careful not to get grout on it, because the grout would make the slate look cloudy and dull.
I came up with the great idea of using a pastry icing bag to apply the gout….. then I discovered they actually make grouting bags for just this sort of project… lol, oh well it was still a good idea just not a very original one. While incredibly similar to a pastry icing (piping) bag, grouting bags tend to have a reinforced yet flexible plastic tip, which might have been better, but since none of my local hardware stores carried these grouting bags nor did anyone working at them know what I was asking about, I went ahead and used my pastry icing bag anyway 🙂
Using the icing (piping) bag worked great, it gave me a high level of control over where I was applying the grout. If on one or two occasions I accidentally got some grout on the slate the key was to have a damp rag on hand to immediately wipe it off. I think the end result turned out beautiful and was exactly what I had envisioned.
The last step might have been to apply a sealer to the grout. While more essential for showers, kitchens, and floors, when it comes to a home’s foundation it is a little more up in the air, as some argue a sealer would hamper a foundation’s breathability. Personally, I decided to opt for breathability, yes moisture might get in but it can also evaporate out.
One thing to note before I end is that I only slated the foundation on the front of my house, which is south facing, and I’ve never had any mold problems on this side of my house. I mention this because another possible reason for sealing slate or grout is to try to protect it from the staining that molds can cause.
Variations:
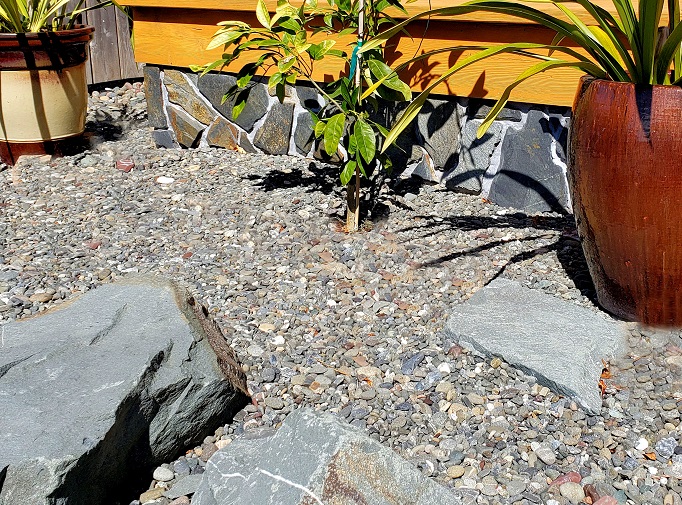
Here is another variation of a slate foundation. This one is higher and more tightly stacked together, adding natural beauty over what was plain cement.